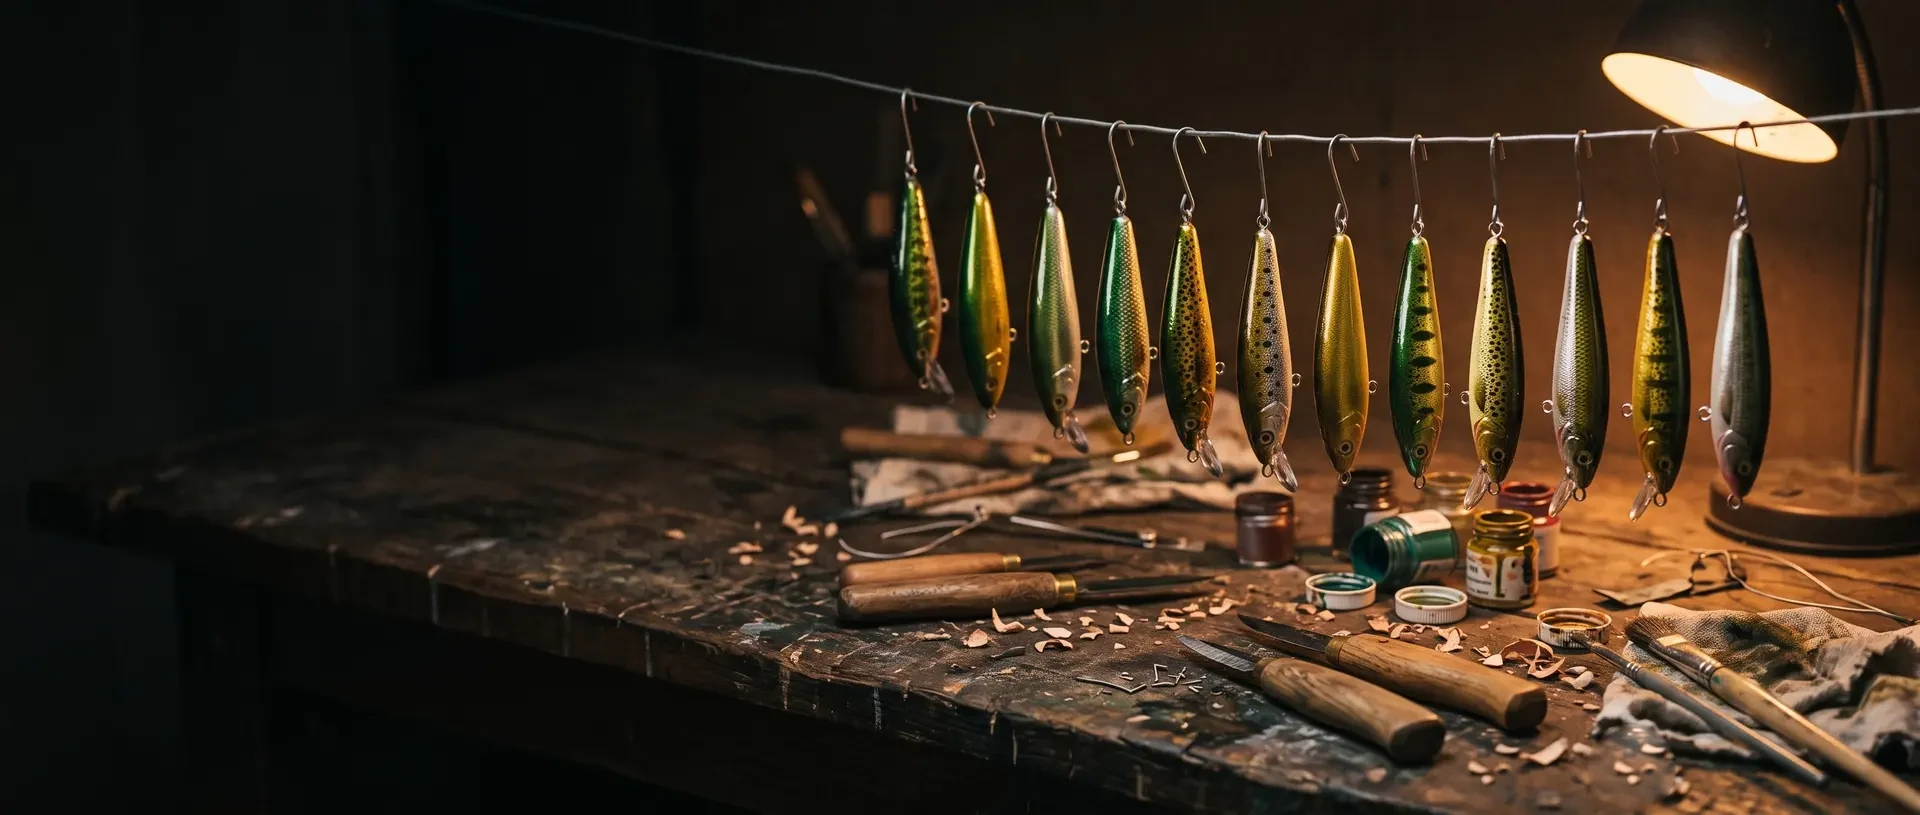
 AI illustration
Lure making
Carve a wooden fishing lure, balance it in a bowl of water, seal it and paint it. Small woodwork that has to swim.
What it is like
A wooden lure is a carving with a job. Its shape is its action: a fat body wobbles, a slim one darts, a cupped face pops on the surface. The fish care about that far more than the paint.
Two steps separate lures from whittled fish. Balance, tested in a bowl of water before anything is painted. And sealing, because wood that drinks water stops swimming within a few casts.
A topwater walker is the kindest first build: no diving lip, simple balance, and it catches fish.
Every lure is a balance between buoyancy, weight and drag. Wood floats; weight in the belly keeps it upright; a lip or a cupped face catches water and makes the body wobble, dive or pop. Small changes matter a great deal - a few millimeters of lip angle or a weight moved toward the nose can turn a lazy roll into a tight, fast wiggle - which is why lure makers test in a bowl or a bathtub long before the paint goes on.
The rest is protection and looks. Sealing keeps water out of the wood, paint and eyes make it look like prey, and an epoxy topcoat holds everything together against teeth and rocks. Many makers end up with a favorite shape they refine over years, tuned to the water and fish they know best.
- A session
- An evening to carve; several short sessions for sealing, painting and topcoats.
- A week
- A lure over a weekend, plus drying time between coats.
- Season
- Carve in winter, test in spring.
Indoors · Solo
Kinds and styles
Slim floating bodies that zigzag across the surface when twitched - the kindest first build.
A cupped face that spits and pops on the surface; simple to carve and great fun to fish.
Lipped plugs that dive and wobble on the retrieve; the lip size and angle set the depth.
Long, slim baitfish shapes with a small lip, fished with sharp twitches and pauses.
Two or more body sections linked so the tail swings like a swimming fish.
Metal lures cut, shaped and polished, the oldest family of lures.
Is it for you?
You will probably love it if
- You fish and want the catch to mean more
- You like whittling and want a test your carving must pass
- You enjoy tuning something by small adjustments
Maybe not, if
- You do not fish: the lure has no purpose
- You skip sealing and finishing steps
- You expect the first one to swim straight
What to buy first
- 01Basswood carving blocks, small packTougher and more forgiving than balsa for a first bodyFind it on Amazon$15
- 02Sloyd-style carving knifeShapes the bodyFind it on Amazon$18
- 03Lure hardware: screw eyes, split rings, hooksThe line tie and hook hangersFind it on Amazon$16
- 04Slow-cure two-part epoxySeals the wood, sets the weight and makes the topcoatFind it on Amazon$14
- 05Acrylic paint set and a flat brushColor goes on after sealingFind it on Amazon$14
- 06220-grit sandpaperSymmetry comes from sandingFind it on Amazon$5
- Everything you need to beginAbout $10 a month after that$82
Typical US prices for entry-level gear, rounded. Last checked October 2026. How we get the numbers
The Amazon links open a search for that type of item, not a product chosen for us, and the prices in the list are our typical figures, or the listing of the shop a line names, not Amazon's price for any listing. If you buy through one we may earn a commission at no extra cost to you; as an Amazon Associate we earn from qualifying purchases.
What to buy next
- 01Stainless lure wire and pliersA wire frame that cannot pull outFind it on Amazon Through-wired lures
- 02Lexan or circuit board lip materialClear or tough lips that set the diveFind it on Amazon Crankbaits
- 03Tungsten or steel weightsLead-free weights to tune how a lure sitsFind it on Amazon Balancing
- 043D lure eyesEyes bring a lure to lifeFind it on Amazon Painting
- 05Scale nettingSprayed through for a scale patternFind it on Amazon Painting patterns
- 06AirbrushSmooth fades and finer patternsFind it on Amazon Many lures
No prices here on purpose: these are later buys, and what to spend depends on how far the hobby has taken you. The Amazon links work like the ones above: a search for the type of item, and a possible commission for us at no extra cost to you.
From a wooden block to a lure that swims, step by step
The modern wooden plug is credited to James Heddon, who watched a bass strike a scrap of whittled wood wobbling down into a millpond in Michigan in the late 19th century (Wikipedia). This guide goes from choosing the kind of lure to carving, fitting hardware, tuning in water, sealing and painting, with the choices at each step.
Warning: Before you start Hooks and knives are sharp: fit hooks last and wear a cut-resistant glove while carving. Use epoxy and sealers with gloves and good ventilation. Do not melt or pour lead at home; use ready-made steel or tungsten weights. Check that hand-made lures and their hooks are legal on the water you fish.
A slim cigar shape, top and side view, with a center line all the way around the block.
Work both sides evenly and sight down the spine often. A lopsided body swims in circles.
Screw eyes at the nose, belly and tail. Nothing gets glued yet.
In a bowl of water it should sit level and upright. Tape on small weights to tune it, then set them in a drilled belly hole with epoxy.
Thin epoxy into every hole and end grain. When hard, sand, paint, then a final coat of epoxy, turning the lure as it sets.
One topwater walker
The carved body from the top, and floating in a bowl from the side, before any paint.
- A Centre line All round the block Symmetry comes from it. Step 2 →
- B Screw eyes Nose, belly, tail On the centre line; dry-fitted. Step 4 →
- C Belly weight In a drilled hole Tuned with tape first, then set in epoxy. Step 5 →
- D Belly eye Under the body Glued in only after the swim test. Step 4 →
Steps 1-2Design
- Step 1 of 8 · Design
Choose the kind of lure
Wooden plugs fall into a few families (Wikipedia).
Most people: topwater walker or popper (a first build).
Start here Topwater walker or popperBest forA first build
Floats on the surface; no lip to tune.
CrankbaitBest forDiving lures
A short, stocky body and a long lip; it dives on a steady retrieve and floats up when you stop.
Jerkbait (minnow)Best forTwitch-and-pause fishing
A slender baitfish shape with a short, steep lip that darts when the rod is flicked.
Jointed plugBest forLater
Two body sections linked so the tail swings like a fish.
- Step 2 of 8 · Design
Draw it at full size
A slim cigar shape for a walker, top and side views, with a centre line drawn all the way round the block. If you add a lip later, remember its size and angle set the diving depth: a small lip dives shallow, a large one several metres (Wikipedia).
Steps 3-6Build and tune
- Step 3 of 8 · Build and tune
Carve and sand
Warning: CAUTION Wear a cut-resistant glove on the holding hand while carving, and fit hooks last.
Work both sides evenly and sight down the spine often; symmetry comes from sanding.
Most people: basswood (first bodies).
Start here BasswoodBest forFirst bodies
Tougher and more forgiving than balsa.
BalsaBest forLively, buoyant lures
The traditional light wood; dents easily.
Goes wrong: A lopsided body. It swims in circles.
- Step 4 of 8 · Build and tune
Fit the hardware dry
Screw eyes at the nose, belly and tail on the centre line; nothing is glued yet.
Goes wrong: Off-centre hardware. A crooked line tie makes the lure run sideways.
- Step 5 of 8 · Build and tune
Float it and tune the weight
In a bowl of water it should sit level and upright. Tape on small weights to tune it, then set them into a drilled belly hole with epoxy.
Goes wrong: Melting lead at home. Lead fumes and dust are toxic; use ready-made steel or tungsten weights.
- Step 6 of 8 · Build and tune
Test it before painting
Tie it on and work it in a bath or pond: a walker should zigzag when twitched. Adjust the weight or hardware now.
Goes wrong: Painting before testing. A lure that swims badly is a wasted paint job.
Steps 7-8Finish and next
- Step 7 of 8 · Finish and next
Seal, paint and topcoat
Brush thin epoxy into every hole and the end grain. When hard, sand lightly, paint, then add a final coat of epoxy, turning the lure as it sets. Epoxy the screw eyes in.
Goes wrong: Skipping the seal. Water gets in, the wood swells and the paint cracks.
- Step 8 of 8 · Finish and next
Check the rules, then build the next
Check that hand-made lures and their hooks are legal on the water you fish. Wikipedia's list of lure families suggests what to try next.
Most people: a lipped crankbait (learning the lip).
Start here A lipped crankbaitBest forLearning the lip
Lip size and angle tuned for depth.
SpoonsBest forMetalwork
Curved metal that wobbles and flashes; an old lure family.
A jointed swimbaitBest forRealistic swimming
Two sections linked for a swinging tail.
In shortIf it goes wrong
- A lopsided body.
- Step 3 · Carve and sand
- Off-centre hardware.
- Step 4 · Fit the hardware dry
- Melting lead at home.
- Step 5 · Float it and tune the weight
- Painting before testing.
- Step 6 · Test it before painting
- Skipping the seal.
- Step 7 · Seal, paint and topcoat
How you get better
- First lureA topwater walker
Cigar-shaped body, screw eyes, bowl-tested balance, sealed and painted.
- Lures 2 to 4A popper and a jerkbait
Cupped faces, slimmer bodies and better paint.
- Months 2 to 4Lipped crankbaits
Cutting lips, setting their angle and tuning the dive.
- Months 4 to 12Through-wiring and joints
Stronger wire frames and jointed swimbaits for bigger fish.
- After thatYour own designs
Lures for your own waters, airbrushed finishes and small batches for friends.
- Drawing top and side views
- Carving symmetrical bodies
- Sanding to shape
- Fitting screw eyes
- Through-wiring
- Balancing with weights
- Cutting and setting lips
- Sealing wood
- Painting scales and eyes
- Epoxy topcoats
- Tuning the swim
- Choosing hooks and rings
Small things that help
- Draw and mark a center line all the way around the blank.
- Check symmetry often by sighting down the spine.
- Float-test before any paint.
- Seal every hole and end grain.
- Let each epoxy coat cure fully.
- Fish it early and adjust the design from what you see.
Beginner mistakes
- 01Painting before testingA lure that swims badly is a wasted paint job. Test first.
- 02Skipping the sealWater gets in, the wood swells and the paint cracks.
- 03Off-center hardwareA crooked line tie makes the lure run sideways. Mark and drill on the center line.
- 04Weak screw eyesThey pull out on good fish. Epoxy them in or through-wire.
- 05Melting lead at homeLead fumes and dust are toxic. Use ready-made steel or tungsten weights.
Shape decides action
| Body | Action | Example |
|---|---|---|
| Fat and round | Wide, slow wobble | Crankbait |
| Slim | Tight, fast dart | Jerkbait |
| Flat-sided | Flash | Flat-sided crankbait |
| Cupped face | Spits and pops on top | Popper |
| Long lip, shallow angle | Dives deep, tight wobble | Deep diver |
Why people quit
- 01It swims on its sideBalance was skipped or set too high in the body. Test in water before any paint.
- 02It died after ten castsUnsealed wood swells and cracks. Sealing is the invisible step that matters most.
- 03A pulled screw eyeScrew eyes in soft wood let go on a good fish. Epoxy them in, or learn through-wire next.
Words you will meet
- Plug
- A hard-bodied lure, often with a diving lip.
- Crankbait
- A lipped lure that dives and wobbles when reeled.
- Jerkbait
- A slim minnow lure worked with twitches.
- Topwater
- A lure fished on the surface.
- Lip
- The bill at the front that makes a lure dive and wobble.
- Line tie
- The eye the fishing line is tied to.
- Through-wire
- A wire running through the body that connects line tie and hooks.
- Split ring
- A double ring for attaching hooks.
- Treble hook
- A hook with three points.
- Action
- How a lure moves in the water.
Questions people ask
Which wood is best for lures?
Basswood is forgiving and tough for beginners; balsa is lighter and livelier but softer.
Why does my lure swim on its side?
Balance is off. Add or move weight low in the belly and test in water before painting.
Do I need an airbrush?
No. Brushes and acrylics work for first lures; an airbrush helps with fades later.
How do I keep water out?
Seal the wood with thin epoxy before painting, then topcoat over the paint.
Are homemade lures legal?
Generally yes, but hook and gear rules vary by water; check local regulations.
Where to go next
- 01Collecting vintage tackleCollecting the old wooden plugs of makers such as Heddon. $83 to start
- 02WhittlingKnife skills for shaping the body. $52 to start
How it compares
| Lure making | Fly tying | Whittling | Fly fishing | |
|---|---|---|---|---|
| Start cost | $82 | $128 | $52 | $289 |
| Each month | $10 | $15 | $5 | $20 |
| Space | A desk | A desk corner | A chair | A river or pond |
| Noise | Quiet | Quiet | Quiet | Quiet |
| First result | 1 weekend | 1 evening | 1 evening | A few trips |
| Mess | Shavings and paint | Feather fluff | Shavings | Wet boots |
Sources: Wikipedia, Fishing lure (history) · Wikipedia, Plug (fishing) · Wikipedia, Heddon (brand) · Wikipedia, Rapala
Researched and written by the Fjords Team.