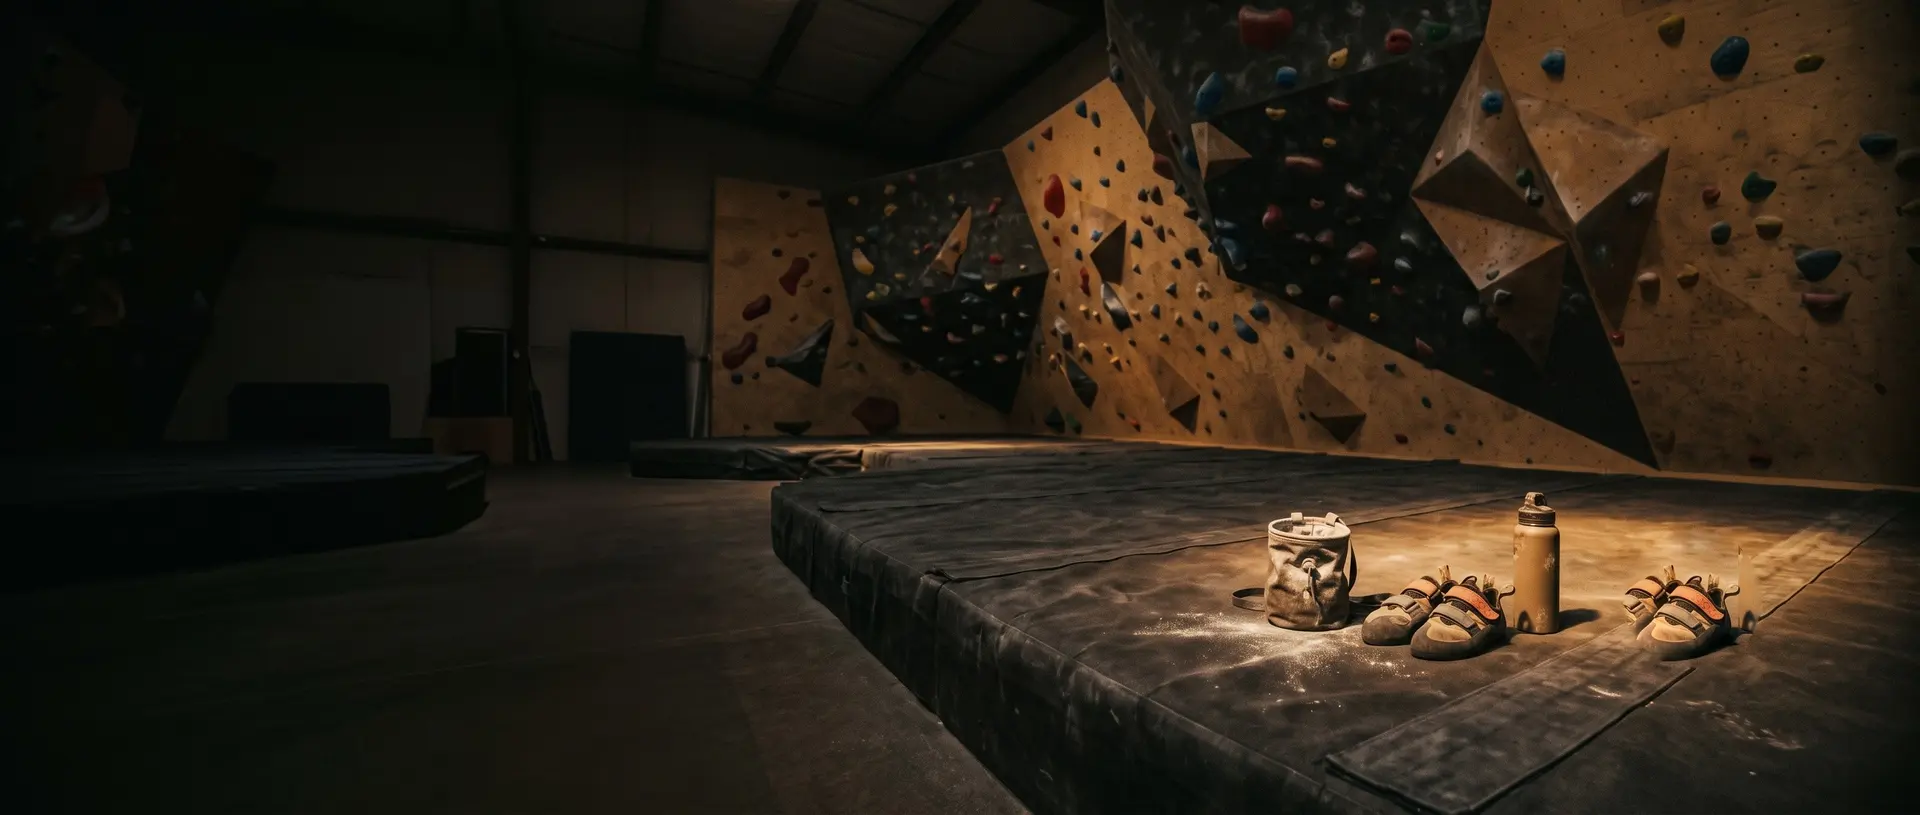
 AI illustration
Bouldering
Short, hard climbs over thick mats in an indoor gym. No rope, no partner needed, and a first session that leaves you aching and hooked.
What it is like
Bouldering is climbing short walls, usually under fifteen feet, with thick mats below instead of a rope above. Each climb is a problem: a set of colored holds from a marked start to a marked top, graded by difficulty. A session is an hour or two of trying problems, failing, resting and trying again, among other people doing the same.
It is the sport on this site with the fastest first hour and the slowest mastery. Anyone can top the easiest problems on day one; the next grade takes technique that only comes from the feet, and the grades after that take years. Because the gym does everything else, the hobby needs no partner, no equipment beyond shoes and chalk, and no weather.
Bouldering is problem-solving with the whole body. Each climb is a short puzzle of where the feet go, which hand moves first, when to lean and when to push, and the answer is often a small change in position. Watching someone else climb a problem, trying their sequence and finding your own is a large part of the fun, and why gyms feel social even for people who arrive alone.
The body adapts in an unusual order. Muscles get stronger within weeks; fingers, tendons and skin take months, which is why the classic beginner injuries come from climbing too often, too soon. Two or three sessions a week with rest days, a proper warm-up and patience with the harder grades keep most people climbing for years.
- A session
- One to two hours at the gym, warm-up included.
- A week
- Two or three sessions with rest days between, especially in the first months.
- Season
- All year indoors; outdoor season depends on cool, dry weather.
Indoors · Solo, For two, With kids, A club
Kinds and styles
Indoor walls with set problems, thick flooring and new routes every few weeks. Where almost everyone starts, all year round.
Real boulders with portable crash pads and spotters; grades feel harder, conditions matter, and access rules have to be respected.
Steep training boards with standardized holds and app-logged problems, for climbers chasing strength.
Timed rounds on set problems, from local gym comps to the Olympic format.
Taller walls with a rope and a partner; many boulderers add rope climbing later.
Tall outdoor boulders where falls are long and pads and spotters matter much more; for experienced climbers only.
Is it for you?
You will probably love it if
- You want a workout that feels like a puzzle
- You are happy to fall onto a mat many times an evening
- You want a sport with a built-in social scene that does not require a partner
Maybe not, if
- A gym membership is not in the budget; this is the dearest monthly cost on the site
- Your fingers, elbows or shoulders have existing injuries
- You cannot get to a gym; outdoor bouldering is a later, separate skill
What to buy first
- 01Day pass at a climbing gymIncludes the mats, the problems and usually a short safety briefing$20
- 02Rental climbing shoesTight rubber shoes make the footholds work; buy your own after a month$5
- 03Chalk bag and a ball of chalkDry hands hold better; the one thing worth owning from day oneFind it on Amazon$22
- Everything you need to beginAbout $80 a month after that$47
Typical US prices for entry-level gear, rounded. Last checked October 2026. How we get the numbers
The Amazon links open a search for that type of item, not a product chosen for us, and the prices in the list are our typical figures, or the listing of the shop a line names, not Amazon's price for any listing. If you buy through one we may earn a commission at no extra cost to you; as an Amazon Associate we earn from qualifying purchases.
What to buy next
- 01Your own climbing shoesShoes that fit you climb better than rentals; buy snug, not painfulFind it on Amazon After a month of regular sessions
- 02Climbing brushCleans chalk off holds for better gripFind it on Amazon Once you project problems
- 03Finger tape and hand balmFor split skin and the occasional sore fingerFind it on Amazon Regular climbing
- 04Gym membershipUsually far cheaper than day passes for regulars Climbing twice a week
- 05Crash padPortable mats for landing on rock; bring more than one and a spotterFind it on Amazon Climbing outdoors
No prices here on purpose: these are later buys, and what to spend depends on how far the hobby has taken you. The Amazon links work like the ones above: a search for the type of item, and a possible commission for us at no extra cost to you.
From a first gym session to your first grades, step by step
Bouldering is climbing short walls without a rope, over thick mats. This guide goes from the induction to climbing outside, with the choices at each step and what tends to go wrong. Falls are part of it, so falling well comes before anything else.
Warning: Before you start Every fall is onto a mat, but bad landings still break ankles and wrists. Land feet first with soft knees and roll; never reach back with the arms. Downclimb when you can, never climb above the top of the wall, and never walk or stand on the mat under someone who is climbing. Rest fingers between sessions, skip the training boards in the first year, and tell the staff about injuries. Children climb with an adult watching and the gym's age rules apply.
Sign the waiver, take the induction. Learn to fall: land on your feet, knees soft, then roll onto your back. Never put your hands out.
Each route, or problem, is one color of holds from a start to a finish hold. The easiest grade is marked; start there and only there.
Push with the legs, hang on straight arms, keep hips close to the wall. Hands are for balance until the legs run out of options.
A problem is done when both hands hold the top hold in control. Then climb down if you can; jumping is for when you cannot.
Two days off between sessions in the first month. Fingers strengthen far more slowly than the muscles that pull on them.
One problem
A gym wall face on, with one problem in one colour; and from the side, the floor under it.
- A Finish hold Taped Both hands on it, in control. Step 7 →
- B The problem One colour Graded; colour systems vary between gyms. Step 3 →
- C Start holds Taped Marked; where the problem begins. Step 3 →
- D Fall zone Under the wall Nobody sits, stands or leaves bags here. Step 1 →
- E Padded floor Land feet first Soft knees, then roll onto your back. Step 2 →
Steps 1-4The first session
- Step 1 of 9 · The first session
Take the induction
Every gym starts with a waiver and a short safety briefing. Listen for its rules on the fall zone - the padded floor under the walls - where nobody sits, stands or leaves bottles and chalk bags while someone climbs above. Children climb with an adult watching, under the gym's age rules.
Goes wrong: Walking under a climber. A falling body lands where it lands; stay off the mat under anyone on the wall.
- Step 2 of 9 · The first session
Learn to fall before you climb
Warning: CAUTION Never reach back with straight arms to catch a fall - that is how wrists break. Land feet first and roll.
Wikipedia lists the usual bouldering injuries: wrist and elbow sprains and ankle sprains and fractures, most often from poorly timed falls. Practise from low down: land on both feet with soft knees, then roll onto your back. Keep the arms in.
- Step 3 of 9 · The first session
Read the grades
Each problem is a set of holds of one colour, from marked start holds to a finish hold. Its difficulty is graded, and gyms use one of two scales or their own colour bands; Wikipedia notes that colour systems vary between gyms.
Most people: the gym's colour circuits (your first weeks).
V-scaleBest forNorth American gyms
Open-ended, from V0 (some gyms use VB for beginner problems) up to V17.
Fontainebleau scaleBest forEuropean gyms
Numbers split into a, b and c; 7A is roughly V6.
Start here The gym's colour circuitsBest forYour first weeks
A colour band covers a range of grades; start on the easiest band only.
- Step 4 of 9 · The first session
Choose shoes and chalk
Climbing shoes fit snugly and grip with sticky rubber. Wikipedia: stiffer shoes hold small edges better, softer ones give more feel; symmetric shoes suit vertical walls and slabs, asymmetric, downturned ones suit overhangs. Chalk dries sweat for a better grip.
Most people: rental shoes (the first month).
Start here Rental shoesBest forThe first month
Included in many day passes; buy your own once you know you will keep going.
Flat, symmetric shoesBest forA first own pair
Comfortable enough for a whole session on vertical walls.
Downturned, asymmetric shoesBest forSteep overhangs
Aggressive and usually painful for beginners.
Not for a first tryGoes wrong: Shoes that are agony. Painfully tight is for experts; snug is enough to start.
Steps 5-7Climbing well
- Step 5 of 9 · Climbing well
Climb with your legs
Legs are far stronger than arms, so push with them and use the arms mainly for balance. Hang on straight arms with the shoulders engaged, so bones rather than muscles take the weight, and keep the hips close to the wall (Wikipedia).
Goes wrong: Pulling with the arms only. Arm strength runs out in minutes.
- Step 6 of 9 · Climbing well
Choose static or dynamic moves
Wikipedia describes the two kinds of movement.
Most people: static (learning).
Start here StaticBest forLearning
Slow and controlled, keeping three limbs on the wall.
DynamicBest forHolds out of reach
Using momentum to reach a hold; a higher chance of falling.
- Step 7 of 9 · Climbing well
Finish, then get down
A problem counts when both hands hold the finish hold in control. Then climb down if you can, and jump only from as low as possible, onto the mat, feet first. Never climb over the top of an indoor wall.
Steps 8-9Getting stronger, safely
- Step 8 of 9 · Getting stronger, safely
Warm up and rest
Fingers and tendons adapt far more slowly than the muscles that pull on them. Wikipedia names finger pulley injuries - strains and partial tears from uneven loading - and tendonitis among the common injuries. Warm up on easy problems, and in the first month take two days off between sessions.
Goes wrong: Climbing every day in the first weeks. Rest days prevent the injuries that stop most beginners; leave training boards for later.
- Step 9 of 9 · Getting stronger, safely
Choose where to go next
After a few months most climbers branch out.
Outdoor boulderingBest forReal rock
Portable crash pads and spotters, who steer a falling climber onto the pads (Wikipedia). Landings are harder than gym floors, and access rules must be respected - the Access Fund keeps track of them in the US.
Board climbingBest forStrength training
Steep boards with standard holds; hard on fingers, for later.
Rope climbingBest forTaller walls
Top-rope and lead climbing need a partner and a belay course at the gym.
In shortIf it goes wrong
- Walking under a climber.
- Step 1 · Take the induction
- Shoes that are agony.
- Step 4 · Choose shoes and chalk
- Pulling with the arms only.
- Step 5 · Climb with your legs
- Climbing every day in the first weeks.
- Step 8 · Warm up and rest
How you get better
- First sessionFall safely and climb the easiest grade
The induction, landing practice, and every problem at the easiest grade.
- Weeks 2 to 6Footwork
Quiet, precise feet and straight arms; the second grade comes from legs and hips, not pulling harder.
- Months 2 to 4Your own shoes and new moves
Buying shoes that fit, and learning flagging, heel hooks and dropping knees on overhangs.
- Months 4 to 12Projects
Working one hard problem over several sessions, and climbing outdoors for the first time with experienced friends.
- After thatStrength and outdoor bouldering
Structured training once tendons have had time to adapt, outdoor areas with pads and spotters, and maybe competitions.
- Falling and landing safely
- Reading a problem
- Precise footwork
- Straight-arm climbing
- Hip positioning
- Flagging
- Heel and toe hooks
- Mantling
- Dynamic moves
- Downclimbing
- Warming up and resting
- Spotting and pad placement outdoors
Small things that help
- Warm up on easy problems before trying anything hard.
- Watch someone climb a problem you are stuck on - the sequence is often the secret.
- Look where your feet are going and place them quietly.
- Keep arms straight where you can; bent arms tire fast.
- Rest a few minutes between hard attempts.
- Look up and around before climbing so you never fall onto someone.
Beginner mistakes
- 01Pulling with the arms onlyArm strength runs out fast. Push with the legs and keep hips close to the wall.
- 02Climbing too often too soonFingers and tendons adapt far more slowly than muscles. Rest days prevent the injuries that stop beginners.
- 03Falling with straight armsReaching back to catch a fall injures wrists. Land on your feet, bend the knees and roll.
- 04Skipping the warm-upCold fingers on small holds are easy to strain.
- 05Shoes that are agonyPainfully tight shoes are for experts. Snug is enough to start.
Grades, roughly
Gyms grade their own problems and vary a lot. The V scale is American; the Font scale is used in Europe.
| V scale | Font | What it feels like | Typically reached |
|---|---|---|---|
| VB to V0 | 3 to 4 | A ladder with big holds | The first session |
| V1 to V2 | 5 to 5+ | Needs technique, not just arms | A few weeks |
| V3 to V4 | 6A to 6B | Small holds, body tension, real moves | A few months |
| V5 and up | 6C and up | Strength and years | A year or more |
Why people quit
- 01Pulling with the armsArms tire in twenty minutes; legs do not. The first month is learning to trust feet, and the people who skip it burn out.
- 02Finger injuriesThe pulleys in the fingers take months to catch up with the muscles. Too much, too soon, and a popped tendon ends the season.
- 03The costA membership is real money every month. If the gym is more than twenty minutes away, the hobby usually fades by spring.
Words you will meet
- Problem
- A bouldering route: a set of holds from start to top.
- Send
- To complete a problem from start to finish without falling.
- Flash
- To send a problem on the first try.
- Beta
- Information on how to climb a problem.
- V-scale
- The US bouldering grade scale, also called the Hueco scale.
- Crimp
- A small edge held with bent fingers.
- Sloper
- A rounded hold with no edge, held with an open hand.
- Jug
- A big hold that is easy to grip.
- Mantle
- Pressing down on a ledge to climb up onto it.
- Crash pad
- A portable mat for outdoor bouldering falls.
Questions people ask
Do I need to be strong to start?
No. The easiest problems are climbable on day one, and early progress comes from technique and footwork more than strength.
Is bouldering safe?
Falls are onto thick mats, but landings still injure ankles and wrists. Learn to fall, downclimb when you can and never climb over others.
Do I need a partner?
No. Gym bouldering needs no rope or belayer; many people go alone and climb with whoever is there.
How often should I go?
Two or three times a week with rest days between is a common start; fingers need time to adapt.
When should I buy shoes?
After a few weeks of regular climbing, once you know you will keep going and roughly what fit you like.
Where to go next
- 01SlackliningThe same balance and footwork, practised on a line between two trees. $66 to start
- 02BackpackingOutdoor bouldering often starts at the end of a walk in with a crash pad on your back. $660 to start
How it compares
| Bouldering | Slacklining | Juggling | Backpacking | |
|---|---|---|---|---|
| Start cost | $47 | $66 | $20 | $660 |
| Each month | $80 | Free | Free | $10 |
| Space | A climbing gym | Two trees | A patch of floor | Trails, and a closet for gear |
| Noise | Quiet | Quiet | Low | Quiet |
| First result | One session | First steps the same afternoon | A weekend to ten catches | 1 weekend |
| Mess | Chalk | None | None | None |
Where to learn more
- 01USA ClimbingThe US national body for competitive climbing, with youth and adult programs.
- 02Access FundA US nonprofit that protects outdoor climbing areas and teaches responsible climbing outdoors.
Sources: USA Climbing · Wikipedia, Bouldering (history)
Researched and written by the Fjords Team.