 AI illustration
Slacklining
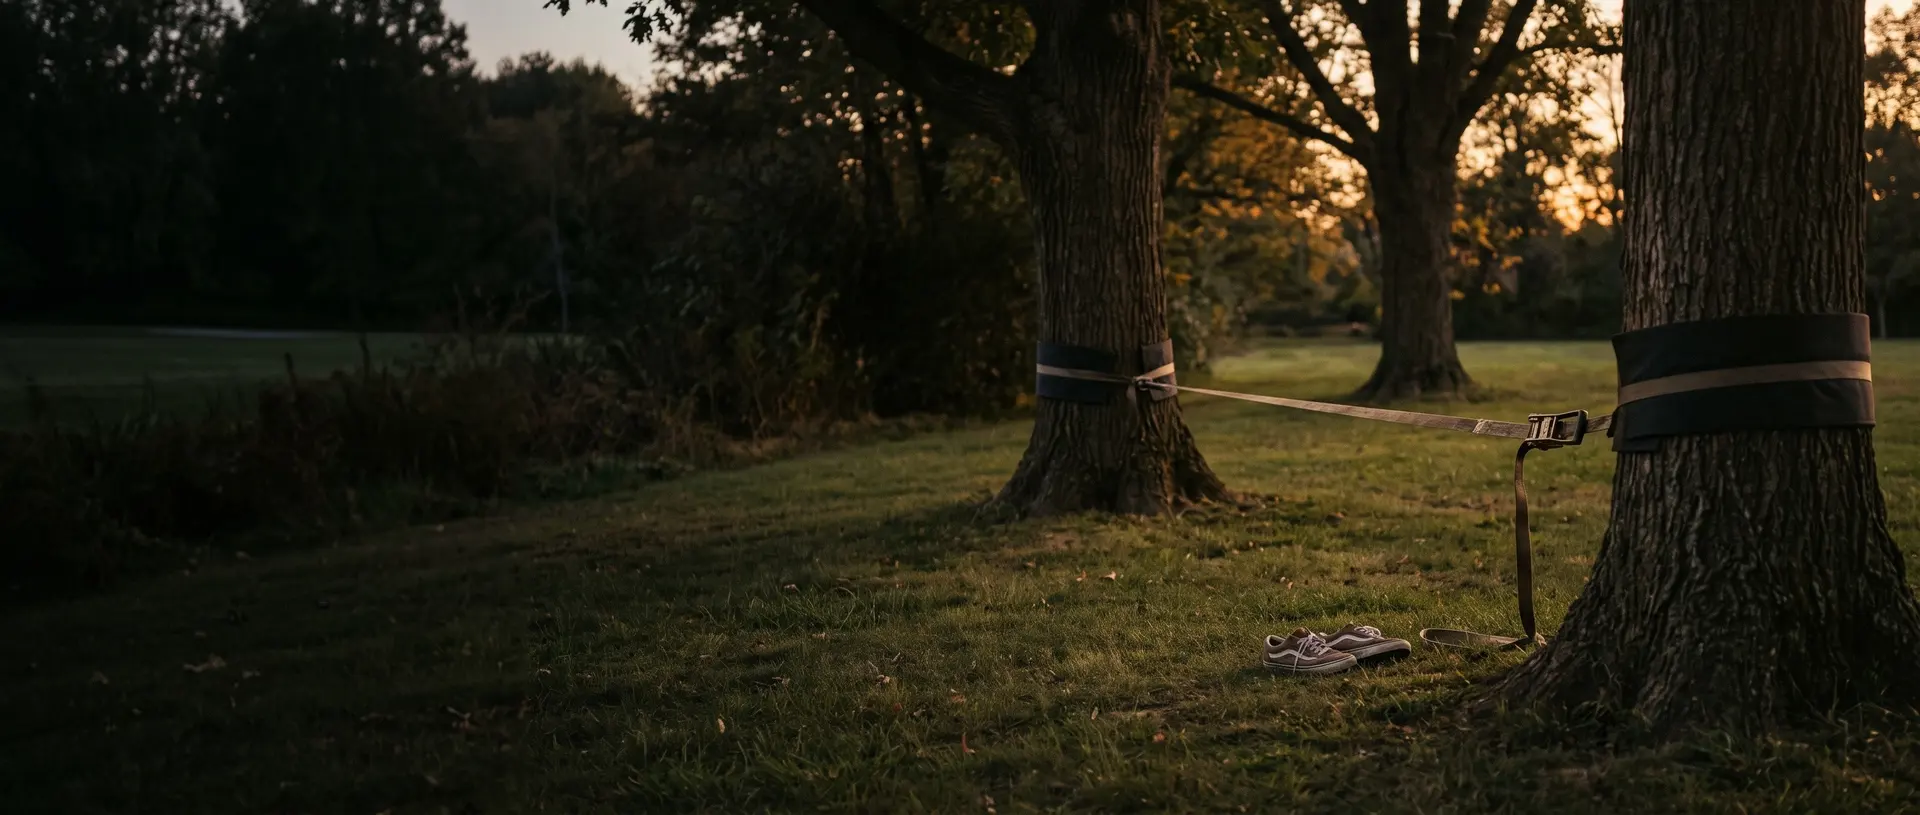
A flat line between two trees at knee height. The first steps happen the same afternoon; walking the whole line takes weeks of wobbling.
What it is like
A slackline is a strip of webbing tensioned between two anchors, usually trees, and the hobby is walking it. Unlike a tightrope it stretches and sways, so balance comes from the body adjusting constantly rather than from a rigid line. Rigged low over grass it is a forgiving way to train balance, and the whole kit fits in a daypack.
The learning curve is steep and short. The first session is mostly standing on one shaking leg; then a few steps; with regular short sessions, walking a short line end to end comes within weeks. After that come turns, sitting, kneeling and longer lines, each of which starts the wobbling again.
A slackline is not a tightrope. Because it is tensioned far less, it stretches, bounces and sways under every step, and balance comes from constant small corrections - through the ankles, knees, hips and arms - rather than from standing rigidly. That is why the first sessions are all shaking legs, and why the shaking fades as the body learns to absorb the line’s movement instead of fighting it.
The most useful trick is the simplest: look at a fixed point, usually the far anchor, and keep looking at it. Feet find the line on their own surprisingly quickly, and a steady gaze calms the whole body. Once ten steps feel easy, the line opens up into turns, walking backwards, sitting down and standing up, and for some people a whole sport of bounces and tricks.
- A session
- Twenty minutes to an hour; balance learns well in short, frequent sessions.
- A week
- Three or four short sessions beat one long one.
- Season
- Spring to autumn outdoors, on dry days.
Outdoors · Solo, For two, With kids
Kinds and styles
A wide line at knee height in a park - where everyone starts and many people stay.
Bouncy lines for jumps, flips and drops, today the most common form of the sport.
Long, low lines that sway and swing; walking them is about calm and focus.
Lines left slack with no tension, swinging like a rope.
Lines rigged between posts or structures in towns where it is allowed.
Lines rigged high above the ground with harnesses and backups; an expert discipline learned with experienced riggers.
Is it for you?
You will probably love it if
- You want core strength and balance without a gym
- You like practice you can measure in steps
- You have a park or a yard with two solid trees
Maybe not, if
- You hate falling, even from knee height onto grass
- Your knees or ankles are already unhappy
- The nearest park bans lines on trees; some do, so ask first
What to buy first
- 01Slackline kit: 2-inch line, ratchet and tree protectors, about 50 feetThe wide, stiff beginner line; the ratchet sets it up in five minutesFind it on Amazon$66
- Everything you need to beginNothing to pay each month after that$66
Typical US prices for entry-level gear, rounded. Last checked October 2026. How we get the numbers
The Amazon links open a search for that type of item, not a product chosen for us, and the prices in the list are our typical figures, or the listing of the shop a line names, not Amazon's price for any listing. If you buy through one we may earn a commission at no extra cost to you; as an Amazon Associate we earn from qualifying purchases.
What to buy next
- 01Tree protectorsWide pads protect bark and the lineFind it on Amazon If your kit has thin ones
- 02Training lineA hand line overhead helps first stepsFind it on Amazon Teaching children or friends
- 03Trickline kitA bouncier line built for jumpsFind it on Amazon Ready to bounce
- 04Longline webbing and riggingWebbing and anchors made for long spansFind it on Amazon Longer lines
- 05Crash matSofter landings for jumps and dropsFind it on Amazon Tricklining
No prices here on purpose: these are later buys, and what to spend depends on how far the hobby has taken you. The Amazon links work like the ones above: a search for the type of item, and a possible commission for us at no extra cost to you.
From a first wobble to walking the line, step by step
A flat line between two trees at knee height. This guide goes from rigging it safely to the first turn on the line, then to the kinds of slacklining that come after. The rigging steps matter as much as the walking: a tensioned line stores a lot of energy.
Warning: Before you start Rig at knee height over soft, clear ground with nothing hard within a fall's distance; never over rocks, benches or water. Use tree protectors and trees at least a foot thick, and check above for dead branches. A tensioned line stores a lot of energy: keep fingers out of the ratchet, release it slowly, and never let anyone stand in line with the anchors while it is loaded. Check the park's rules first; many allow lines, some do not. Children use the line with an adult spotting.
Trees at least a foot thick, protectors around the bark, line at knee height, fifteen to twenty feet between anchors. Tighten the ratchet until the line is firm and barely sags.
One foot on the line pointing along it, eyes on the far anchor, arms up. Push up onto that foot and stand still for three breaths. Ignore the shaking; it stops in a few sessions.
Place the other foot in front, weight still on the back foot, and shift over slowly. One step, then step down. Repeat until a single step feels dull.
Two, then three, then five. When you lose it, step off forward, never jump.
Ten steps out, a slow pivot on one foot, ten back. That is the end of the beginner stage and the start of the fun.
A first rig
From the side, roughly to scale, with a standing figure for size.
- A Anchor tree At least 1 ft thick Healthy, no dead branches above. Step 2 →
- B Ratchet Near one anchor Tighten until the line is firm. Step 3 →
- C Tree protector Under the sling On both trunks. Step 3 →
- D Line Knee height Barely sags; 2 in wide for a first kit. Step 3 →
Steps 1-3Rig it
- Step 1 of 8 · Rig it
Choose the line
Slacklines are tensioned far less than a tightrope, so they stretch and bounce (Wikipedia). Width changes how the line feels underfoot.
Most people: 2-inch (5 cm) kit with ratchet (beginners).
Start here 2-inch (5 cm) kit with ratchetBest forBeginners
The wide, stiff line sold as a kit with a ratchet; the kind tricklining also uses.
1-inch (2.5 cm) or narrowerBest forLonger lines, later
Lighter, used for longlines; it sways more.
- Step 2 of 8 · Rig it
Find the spot
Two healthy trees at least a foot thick, fifteen to twenty feet apart, over soft, clear ground with nothing hard within a fall's distance - never over rocks, benches or water. Check above for dead branches, and check the park's rules: Wikipedia notes some towns have banned slacklines for damaging trees.
Goes wrong: Thin trees and no protectors. They damage the bark and can fail.
- Step 3 of 8 · Rig it
Rig it low and protect the trees
Warning: CAUTION Keep fingers out of the ratchet, release it slowly, and never stand in line with the anchors while the line is loaded.
Wrap tree protectors around both trunks (the International Slackline Association publishes a tree-protection guide), fix the line at knee height and tighten the ratchet until the line is firm and barely sags.
Goes wrong: Rigging too high. Falls hurt more and the line moves more; knee height is enough.
Steps 4-7Walk it
- Step 4 of 8 · Walk it
Stand on one foot
One foot on the line, pointing along it, eyes on the far anchor, arms up. Push up onto that foot and stand still for three breaths. The shaking stops after a few sessions.
Goes wrong: Looking down. Balance falls apart; keep your eyes on the anchor.
- Step 5 of 8 · Walk it
Take one step
Place the other foot in front, weight still on the back foot, then shift over slowly. One step, then step down. Repeat until a single step feels dull.
- Step 6 of 8 · Walk it
String the steps together
Two, then three, then five. When you lose it, step off forward and land on your feet - never jump.
Goes wrong: Long first sessions. Tired legs shake more; stop while it is still going well.
- Step 7 of 8 · Walk it
Turn around
Ten steps out, a slow pivot on one foot, ten back. That is the end of the beginner stage.
Step 8Where it goes next
- Step 8 of 8 · Where it goes next
Choose a direction
Wikipedia describes the main kinds of slacklining that grow out of a low line.
Most people: longlining (calm and focus).
TrickliningBest forJumps and tricks
Bouncy 2-inch lines for jumps, flips and drops.
Start here LongliningBest forCalm and focus
Long, low lines that sway and swing.
Rodeo lineBest forSomething different
A line left slack with no tension, swinging like a rope.
HighliningBest forExperts only
Lines high above the ground with a harness, a leash and redundant anchors, learned from experienced riggers.
Not for a first try
In shortIf it goes wrong
- Thin trees and no protectors.
- Step 2 · Find the spot
- Rigging too high.
- Step 3 · Rig it low and protect the trees
- Looking down.
- Step 4 · Stand on one foot
- Long first sessions.
- Step 6 · String the steps together
How you get better
- First sessionStand on one leg
Low, short line, eyes on the anchor, three steady breaths.
- First weeksTen steps
From one step to three, five and ten without touching down.
- First monthEnd to end and back
Walking the whole short line and turning around.
- Months 2 to 4Longer lines and tricks
Longer, bouncier lines, walking backwards, sitting and kneeling, and mounting in the middle.
- After thatYour style
Tricklining, longlines or yoga on the line; highlining only with experienced riggers and proper gear.
- Choosing anchors
- Protecting trees
- Rigging with a ratchet
- Safe release
- Standing on one leg
- Fixed gaze
- Arm balance
- Walking forwards
- Turning
- Walking backwards
- Sitting and kneeling
- Mounting from the middle
Small things that help
- Rig low and short at first.
- Look at the far anchor, not your feet.
- Keep arms up and loose.
- Bend the standing knee slightly.
- Practice often in short sessions.
- Step off forward rather than jumping when you lose balance.
Beginner mistakes
- 01Rigging too highFalls hurt and the line moves more. Knee height.
- 02Looking downBalance falls apart. Eyes on the anchor.
- 03Thin trees and no protectorsDamages bark and can fail. Thick trees and wide pads.
- 04Long first sessionsTired legs shake more. Stop while it is still going well.
- 05Standing in line with the anchorsA loaded line stores energy. Stand aside when tightening or releasing.
Line length and what it does
| Between anchors | Feels | Good for |
|---|---|---|
| 15 to 20 feet | Firm, hardly moves | The first weeks; standing and first steps |
| 25 to 35 feet | Bouncier, sways more | Walking, turns, sitting down |
| 40 to 50 feet | Lively; needs a tight rig and good trees | Tricks and long walks, later |
Why people quit
- 01Rigging too high or too longBoth make the line move more and the falls hurt more. Low and short is faster to learn and the only safe way to start.
- 02Looking at your feetBalance comes from a fixed gaze on the far anchor. Everyone looks down; everyone falls off when they do.
- 03Stopping at three stepsThe plateau between three and ten steps is where many beginners put the line away. Short, regular sessions get you through it.
Words you will meet
- Slackline
- Flat webbing tensioned between two anchors and walked like a dynamic tightrope.
- Anchor
- A tree or post the line is attached to.
- Ratchet
- The device that tensions a slackline.
- Tree protector
- A pad that protects bark from the sling.
- Trickline
- A bouncy line for jumps and flips.
- Longline
- A long, low slackline.
- Highline
- A slackline rigged high above the ground with safety systems.
- Leash
- The tether that connects a highliner to the line.
- Mount
- Getting onto the line from standing or sitting.
Questions people ask
How long does it take to walk a slackline?
First steps often come in the first session; walking a short line end to end takes a few weeks of short sessions.
What line should a beginner buy?
A 2-inch line kit with a ratchet and tree protectors, about 50 feet long but rigged short.
Is slacklining safe?
At knee height over soft ground with careful rigging, falls are usually short steps down.
Can kids slackline?
Yes, with an adult spotting and a low, short line.
Can I slackline in a park?
Many parks allow it with tree protection, some do not; check the rules.
Where to go next
- 01BoulderingFootwork and balance from the line carry straight onto the climbing wall. $47 to start
- 02JugglingShort, frequent practice of a balance skill - and some people juggle on the line. $20 to start
How it compares
| Slacklining | Bouldering | Juggling | Disc golf | |
|---|---|---|---|---|
| Start cost | $66 | $47 | $20 | $27 |
| Each month | Free | $80 | Free | Free |
| Space | Two trees | A climbing gym | A patch of floor | A park course |
| Noise | Quiet | Quiet | Low | Low |
| First result | First steps the same afternoon | One session | A weekend to ten catches | One round |
| Mess | None | Chalk | None | None |
Where to learn more
- 01International Slackline AssociationThe international body for slacklining, with safety and rigging resources.
Sources: International Slackline Association · Wikipedia, Slacklining (history and styles)
Researched and written by the Fjords Team.