 AI illustration
Microgreens
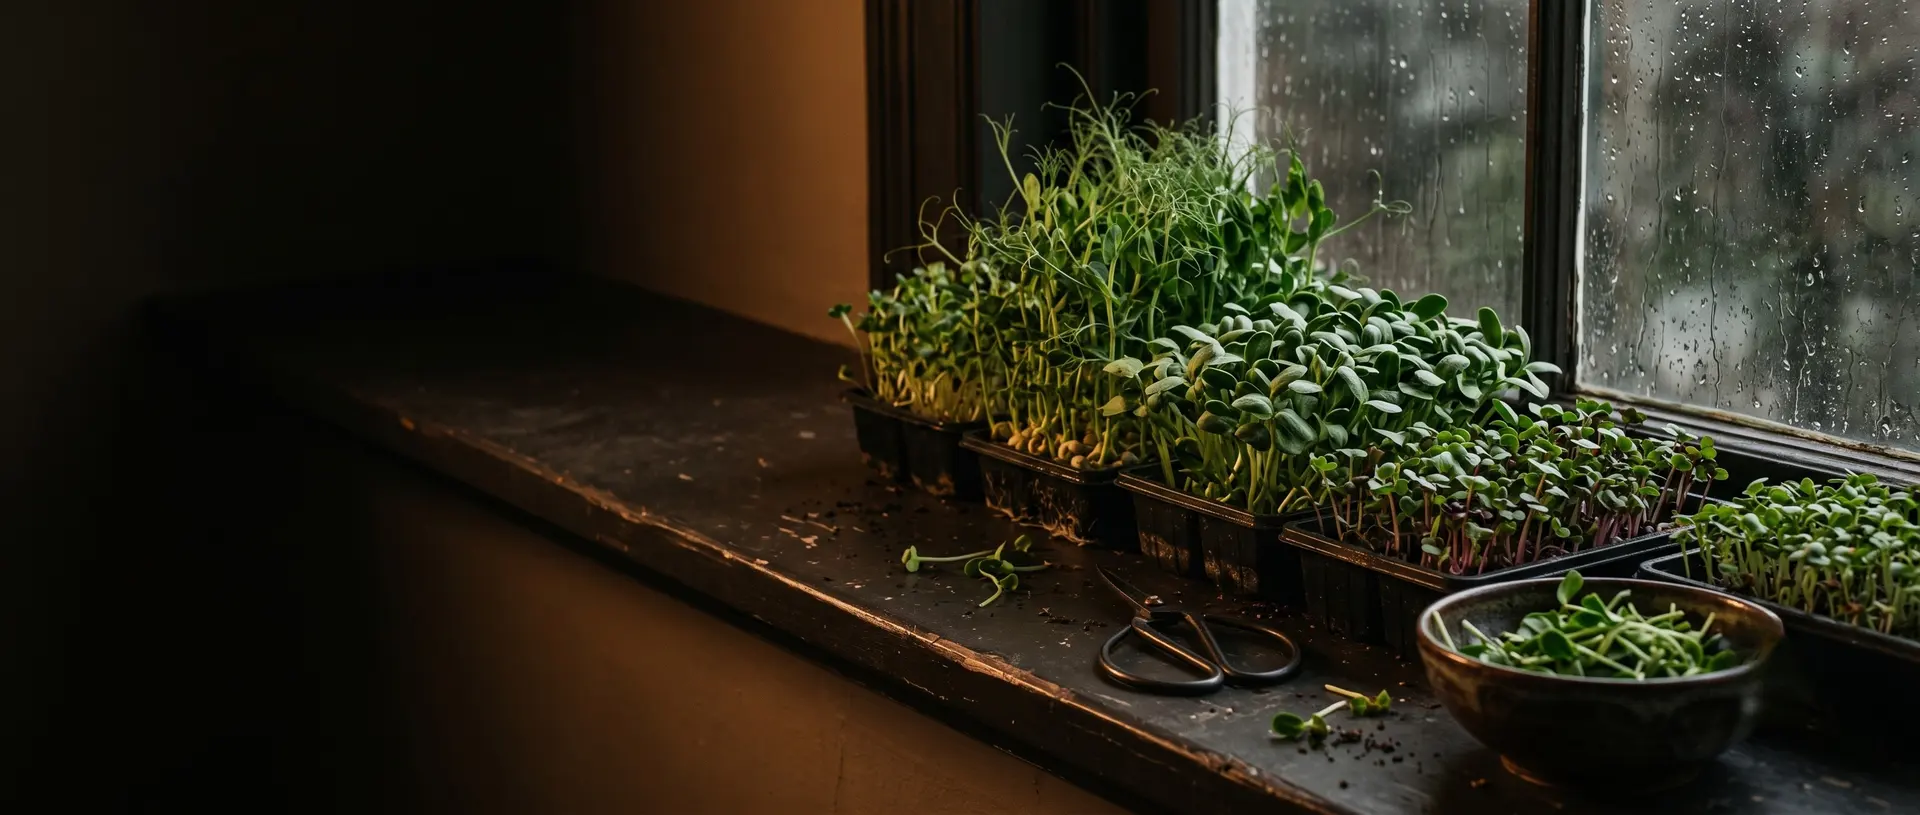
Trays of seedlings cut at two weeks old. The fastest edible crop there is, and it grows on a windowsill in winter.
What it is like
Microgreens are vegetable seedlings cut at the first true leaf, a week or two after sowing. Sow a tray thickly, keep it dark for three days so the stems stretch, give it light for a week, cut with scissors. That is the whole method, and it works in a flat in January.
The hobby suits people who like a weekly rhythm more than a season-long project. Nothing is overwintered, nothing is pruned; a tray is either growing or it is finished. The pleasure is the small, fast, repeated success, and the fact that a handful of fresh radish greens in a sandwich tastes of something.
A microgreen is a seedling eaten at its most flavorful moment: the seed leaves fully open and the first pair of true leaves just appearing. The seed carries enough energy to get that far on water alone, which is why a tray needs no fertilizer, only moisture, light and air. The three dark days at the start make the seedlings push up together and stretch evenly, and the week of light afterwards turns them green and gives them their flavor.
Most of the craft is rhythm. A tray sown every few days gives a steady supply instead of a glut, different crops are timed to be ready together, and finished trays go straight to the compost or a worm bin. It is one of the quickest ways to grow food in a small flat - and a gentle first step for people who later move on to windowsill herbs or a garden.
- A session
- Ten minutes to sow a tray; a minute a day to water and check.
- A week
- One or two trays sown each week for a steady supply.
- Season
- All year indoors; easiest in winter when other growing stops.
Indoors · Solo, With kids
Kinds and styles
Radish, broccoli, kale, mustard and cabbage - fast, easy and peppery to mild.
Large soaked seeds, sweet tendrils and leaves, and often a second smaller cut.
Nutty, crunchy and filling; soaked first and a little fussier about mold.
Basil, cilantro and others - slower, at two to four weeks, but intensely flavored.
Beet, red cabbage, amaranth and chard for red and purple stems on the plate.
A different crop: seeds germinated in a jar and eaten whole; follow sprouting guidance carefully because of food safety.
Is it for you?
You will probably love it if
- You want to grow food but have no garden and no patience for tomatoes
- You like a tidy routine: sow on Sunday, cut the Sunday after
- You cook, and you would use a handful of greens most days
Maybe not, if
- You want a crop that keeps; microgreens are cut once and eaten within days
- Your windowsill is dark and you do not want a lamp
- Mold and damp soil indoors worry you
What to buy first
- 01Two 10 by 20 inch growing trays, one with drainage holes and one withoutThe holed tray sits in the solid one; water from below and nothing leaksFind it on Amazonor at True Leaf Market$13
- 02Coconut coir brickExpands into a clean, light growing mix; a brick fills many traysFind it on Amazon$5
- 03Seed: a pound of peas and a packet of radishTwo of the easiest and fastest crops; bought as sprouting or microgreen seed, not garden packetsFind it on Amazonor at True Leaf Market$15
- 04Spray bottleKeeps the seed moist for the first days without washing it about; any clean one from under the sinkFree
- Everything you need to beginAbout $8 a month after that$33
Typical US prices for entry-level gear, rounded. Last checked October 2026. How we get the numbers
The Amazon links open a search for that type of item, not a product chosen for us, and the prices in the list are our typical figures, or the listing of the shop a line names, not Amazon's price for any listing. If you buy through one, or through a shop link in the same row, we may earn a commission at no extra cost to you; as an Amazon Associate we earn from qualifying purchases.
What to buy next
- 01LED shop lightStops pale, leggy traysFind it on Amazon Dim windows or winter
- 02Small tray setsSmaller trays mean less waste and more varietyFind it on Amazon A steady weekly supply
- 03Seed in bulkMicrogreens use a lot of seed; bulk bags cut the costFind it on Amazon Regular growing
- 04Small fanGentle air movement keeps the soil surface dryFind it on Amazon Mold problems
- 05Wire shelfHolds trays and lights in one placeFind it on Amazon Several trays
- 06Hemp or fiber grow matsClean mats for small greensFind it on Amazon Trying soil-free growing
No prices here on purpose: these are later buys, and what to spend depends on how far the hobby has taken you. The Amazon links work like the ones above: a search for the type of item, and a possible commission for us at no extra cost to you.
Growing a tray of microgreens, step by step
From choosing seed to cutting the tray, in the order it is done. At each step: what to do, what you can choose between and how the choices differ, and what tends to go wrong. The sources are Penn State Extension, South Dakota State University Extension and, for the dark start, the seed company West Coast Seeds; where they differ, both ways are given.
Warning: Before you start Buy seed sold for sprouting or microgreens, not garden seed, which may be treated. Wash trays between crops, keep the soil surface aired, and compost any tray that smells sour or shows gray mold rather than eating around it.
Soak the pea seed in water for eight hours. Radish needs no soaking.
An inch of damp coir in the holed tray, pressed flat. Scatter seed thickly, so it almost covers the surface, and press it in. Do not bury it.
Mist, cover with the second tray upside down, and leave in the dark for three days. The seedlings push up against the lid and grow strong stems.
Uncover and move to the brightest window or under a lamp. Water from below by pouring into the bottom tray; keep the leaves dry.
Radish is ready at about seven days, peas at about ten, when the first true leaves show. Cut just above the soil with scissors, rinse, eat. The tray goes to the compost and a new one is sown.
A tray of microgreens, bottom to top
A tray of microgreens cut in half, standing in shallow water, bottom to top.
- A Tray with holes A shallow container that drains, such as a 10 x 20 inch tray. Step 2 →
- B Water below Stand the tray in shallow water and lift it out once the mix is wet. Step 6 →
- C Soilless mix About 1 in (2.5 cm) Fresh each time, moistened before sowing. Step 2 →
- D Seed Sown thickly and evenly, one crop per tray. Step 3 →
- E Vermiculite Optional thin cover; some growers press the seed in and leave it bare. Step 3 →
- F Seedlings Cut at about 1.5-3 in (4-8 cm), just above the mix. Step 8 →
- Step 1 of 11
Choose the crops
Most vegetables and herbs grown for their leaves can be cut as microgreens. Sow one kind per tray, because they germinate and grow at different speeds (Penn State). Buy untreated or organic seed: with some crops the seed coat stays on the seedling and is eaten, so pesticide-treated seed is out (Penn State), and South Dakota State prefers certified organic seed.
Radish, mustard, kale and other cabbage relativesBest forA first tray
Penn State lists arugula, kale, radish, mizuna, pac choi and red mustard among the common crops; they are small-seeded and sown dry.
Peas and sunflowersBest forCrunchy shoots
Large seeds; West Coast Seeds soaks peas for about 12 hours before sowing.
Basil, cilantro, fennel, celeryBest forFlavour
Herbs on the South Dakota State list, slower than the cabbage family; cilantro gave the lowest yield in Penn State's trials.
A mixBest forSalads
Grow each kind in its own tray and mix them after cutting (Penn State).
Goes wrong: Treated seed. Seed coated with pesticide for the garden is not meant to be eaten; buy seed sold untreated for microgreens or sprouting.
- Step 2 of 11
Choose the tray and the mix
Any shallow container that drains: a standard 10 x 20 inch greenhouse tray, a pot, or a takeaway box with holes made in the bottom. Fill it with soilless potting mix, moistened before sowing (South Dakota State); West Coast Seeds finds about an inch of depth enough for almost any seed. Use fresh mix for every tray to lower the risk of disease (Penn State).
Soilless potting mixBest forMost crops
What both extension services use.
Coconut coirBest forLight, clean trays
A peat-free soilless medium sold as compressed bricks that expand in water.
Seeding matsBest forMix-free cutting
Thin growing mats; Penn State found that mats in vented boxes give cleaner harvests.
Goes wrong: Reusing old mix. It is possible, but Penn State advises fresh mix each time to keep disease down.
- Step 3 of 11
Sow
Penn State weighs the seed: 10-15 g for a standard 10-row tray - a tablespoon of cabbage-family seed is about 11-12 g - or, by eye, 6-8 large or 10-12 small seeds per square inch, sowing a little less in summer than in winter and less of big seed than of small. Scatter it evenly, starting at the edges and then filling the middle.
Cover with vermiculiteBest forEven germination
A thin layer of soilless mix or vermiculite over the seed keeps the moisture even and the stand uniform (Penn State).
Press in and leave bareBest forCleaner leaves
South Dakota State presses the seed into the mix with the palm and does not cover it, because mix splashed onto the leaves is hard to get off at harvest.
Goes wrong: Sowing for the biggest crop. Penn State aims for as many seedlings as the tray holds without them stretching or getting diseased - thicker is not always more.
- Step 4 of 11
Keep it damp and dark until it comes up
Seed germinates best with the mix at 60-75°F (16-24°C) and the air at 60-70°F (16-21°C) (Penn State). Until the seedlings are up, the job is to stop the surface drying out.
A plastic bag or coverBest forDry rooms
South Dakota State encloses the tray to keep humidity near 100 per cent, then opens it gradually over a couple of days once seedlings appear.
A blackout under a second trayBest forTaller, easier-to-cut stems
West Coast Seeds covers the tray with another tray or puts it in a cupboard for about three to four days, re-dampening the mix if it dries; in the dark the stems stretch, which makes short crops easier to cut.
Goes wrong: Leaving the cover on. Lift it once the seedlings are up: damping-off disease is favoured by warm, humid conditions (Penn State).
- Step 5 of 11
Give them light
Once they are up, move them into as much light as possible: a sunny window, or full-spectrum or LED lights kept close to the leaves without touching them (West Coast Seeds, South Dakota State). By greenhouse standards microgreens are a low-light crop, and Penn State notes that home growers manage on windowsills.
A bright windowBest forSpring and summer
Enough for most crops in the brighter months.
A lamp close above the trayBest forWinter and dark rooms
Full-spectrum or LED, close to the leaves but not touching (West Coast Seeds).
Goes wrong: Long, pale, floppy seedlings. Not enough light: move the tray or bring the lamp closer.
- Step 6 of 11
Water from below
Penn State recommends watering from below, which keeps leaves and stems dry and lowers disease: stand the tray in a tub of shallow water and lift it out once the mix is wet. South Dakota State waters with a fine-nozzled can or by standing the container in warm water. Either way, keep the mix moist through the whole short life of the tray (West Coast Seeds).
Plain waterBest forMost trays
Penn State finds little or no fertiliser is needed, though trays grown on clear water have sometimes shown iron deficiency.
A weak feedBest forTrays grown longer
If used, 50-100 ppm nitrogen is enough (Penn State); South Dakota State gives half-strength 20-20-20 after the seedlings emerge, kept off the stems and leaves.
- Step 7 of 11
Know mould from roots
Fine white hairs along the roots near the surface are root hairs, a normal part of a seedling. Damping-off is different: Penn State found it the only disease in its trials, caused by Rhizoctonia or Botrytis, favoured by warm and humid conditions, and showing as white, fuzzy growth with seedlings collapsing.
Goes wrong: Wet leaves and stale air. Water from below, sow a little thinner and lift covers promptly.
- Step 8 of 11
Cut
Penn State harvests at roughly 1.5-3 inches (4-8 cm) tall, 7 to 21 days from sowing depending on the crop and conditions; South Dakota State waits about three weeks, until three or four true leaves; West Coast Seeds cuts when the seedlings are a few inches tall with their first set of leaves. Cut just above the mix with clean, sharp scissors or a knife, leaving the roots behind.
Early, at the seed leavesBest forRadish, cabbage family
Smaller, more tender, sooner.
Later, at the first true leavesBest forPeas, sunflower, herbs
Bigger and fuller-flavoured; South Dakota State waits for three or four.
Goes wrong: Blunt blades and electric clippers. In Penn State's trials, clippers were three times faster but tore the stems and shortened shelf life.
- Step 9 of 11
Store, wash, eat
Penn State does not wash microgreens before storing, since washing shortens their life, and kept them 10-14 days in dark cold storage at 41°F (5°C), against 2-4 days at room temperature; wash just before eating. South Dakota State rinses, dries and refrigerates them in a sealed bag for about a week.
- Step 10 of 11
Keep it clean, and sow the next tray
Microgreens are eaten raw. Wash your hands before sowing and cutting, use new or cleaned trays and clean scissors, and do not keep fertiliser solution standing at room temperature, where pathogens multiply (South Dakota State). For the next crop, refill the tray with fresh mix and sow again; the old roots and mix go to the compost.
- Step 11 of 11
If you want to sell them
Penn State names restaurants as the main market for microgreens, with grocery stores, farmers' markets and CSA boxes after them; the market sets the price, the quantity and the packaging, such as clamshells or bags. For planning, its growers averaged about 136 g (0.3 lb) of greens from a 10-row tray, from about 47 g for cilantro to about 200 g for red mustard. Selling food is regulated, and the rules depend on where you are and on how you sell - Penn State notes, for example, that a loose mix has to be sold with a sign naming its varieties. We do not advise on this: ask your state department of agriculture, or your country's food safety authority, before the first sale.
Goes wrong: Washing before you sell. Penn State found it shortens shelf life; tell buyers to wash the greens before eating instead.
In shortIf it goes wrong
- Treated seed.
- Step 1 · Choose the crops
- Reusing old mix.
- Step 2 · Choose the tray and the mix
- Sowing for the biggest crop.
- Step 3 · Sow
- Leaving the cover on.
- Step 4 · Keep it damp and dark until it comes up
- Long, pale, floppy seedlings.
- Step 5 · Give them light
- Wet leaves and stale air.
- Step 7 · Know mould from roots
- Blunt blades and electric clippers.
- Step 8 · Cut
- Washing before you sell.
- Step 11 · If you want to sell them
How you get better
- First fortnightRadish and pea shoots
Two easy trays, blackout for three days, then a bright window and a scissor harvest.
- First monthA weekly rhythm
Sowing a tray every week so there are always greens ready.
- Months 2 to 3More crops
Sunflower, broccoli, kale and a colorful mix, each with its own timing.
- Months 3 to 6Lights and shelves
An LED shop light over a small shelf for even, sturdy trays all year.
- After thatHerbs and bigger batches
Slow herbs, soil-free mats, and perhaps a market stall once food rules are checked.
- Choosing seed for microgreens
- Soaking large seeds
- Sowing evenly and thickly
- Blackout period
- Bottom watering
- Giving enough light
- Air movement against mold
- Telling root hairs from mold
- Harvesting at the right stage
- Washing and storing
- Staggered sowing
- Growing under lights
Small things that help
- Buy seed sold for sprouting or microgreens.
- Sow thickly but in a single layer.
- Keep a lid on for the blackout days.
- Water from below once the seedlings are up.
- Give the trays air and light, not just water.
- Harvest in the morning and refrigerate quickly.
Beginner mistakes
- 01Treated garden seedSome garden seed is coated with treatments not meant for eating. Use untreated microgreen seed.
- 02OverwateringSoggy trays grow mold. Water from below and let the surface breathe.
- 03Too little lightStems stretch and fall over. A bright window or a lamp a few inches above.
- 04Sowing too thinlySparse trays give little. Cover the surface almost completely.
- 05Cutting too latePast the first true leaves, greens get tough and bitter. Cut on time.
Days to harvest
Approximate, at ordinary room temperature with a decent window or a lamp.
| Crop | Soak | Blackout | Cut at | Taste |
|---|---|---|---|---|
| Radish | No | 3 days | 6 to 8 days | Peppery |
| Pea shoots | 8 hours | 3 to 4 days | 8 to 12 days | Sweet, like fresh peas |
| Sunflower | 8 hours | 3 to 4 days | 8 to 12 days | Nutty, crunchy |
| Broccoli | No | 3 days | 7 to 10 days | Mild cabbage |
| Kale | No | 3 days | 8 to 12 days | Mild |
| Basil | No | 4 to 5 days | 15 to 25 days | Strong basil; slow |
Why people quit
- 01MoldFine white hairs along the roots are normal root hairs; fuzzy growth with seedlings collapsing is damping-off, which warm, humid trays favour. Sow a little thinner, water from below, and give the tray some air movement.
- 02Leggy, pale traysNot enough light after blackout. A cheap LED shop light a few inches above the tray fixes it.
- 03Not eating themA tray makes a lot of greens at once. If they are not going into sandwiches, soups and eggs, the hobby stalls. Sow smaller trays rather than fewer.
Words you will meet
- Microgreen
- A seedling harvested just after its first true leaves appear.
- Cotyledon
- The first seed leaves of a seedling.
- True leaves
- The first leaves with the plant's adult shape.
- Blackout
- Keeping trays covered and dark for the first days.
- Bottom watering
- Pouring water into the lower tray so roots draw it up.
- 1020 tray
- The standard 10 by 20 inch growing tray.
- Coir
- Coconut fiber used as a growing medium.
- Petite green
- A seedling grown past microgreen size.
- Sprout
- A germinated seed eaten whole, roots and all.
Questions people ask
What is the easiest microgreen to start with?
Radish and pea shoots: fast, forgiving and big flavor.
Do I need a grow light?
Not always. A bright window works; a lamp helps in winter or dim rooms.
Is the white fuzz mold?
Fine white fuzz on roots is usually root hairs; gray fuzz on stems and seeds is mold.
Can I regrow microgreens after cutting?
Most do not regrow; pea shoots sometimes give a second, smaller cut.
What is the difference between sprouts and microgreens?
Sprouts are germinated seeds eaten whole; microgreens grow in light and are cut above the soil once the first leaves appear.
Where to go next
- 01Worm compostingEvery cut tray leaves a mat of roots and mix - good food for a worm bin, which turns it into compost for the next crop. $71 to start
- 02Oyster mushroomsAnother fast indoor crop for the kitchen, grown in the dark instead of on a windowsill. $20 to start
- 03Sourdough bakingAnother small weekly kitchen routine that feeds you. $126 to start
How it compares
| Microgreens | Oyster mushrooms | Succulents and cacti | Worm composting | |
|---|---|---|---|---|
| Start cost | $33 | $20 | $37 | $71 |
| Each month | $8 | $10 | $4 | Free |
| Space | A windowsill | A kitchen counter | A windowsill | Under a sink |
| Noise | Quiet | Quiet | Quiet | Quiet |
| First result | 8 to 12 days | 2 to 3 weeks | Same day | About 3 months |
| Mess | Soil and water | A little spore dust | A little soil | Damp bedding |
Where to learn more
- 01SDSU Extension, growing microgreens at homeA university extension guide to trays, media, light and harvest.
Sources: Penn State Extension, Growing Microgreens (Elsa Sánchez, Robert Berghage) · Penn State Extension, Legal considerations for microgreens production · West Coast Seeds, Growing microgreens from start to finish · South Dakota State University Extension, growing microgreens at home · Wikipedia, Microgreen (history, sprouts vs microgreens)
Researched and written by the Fjords Team.