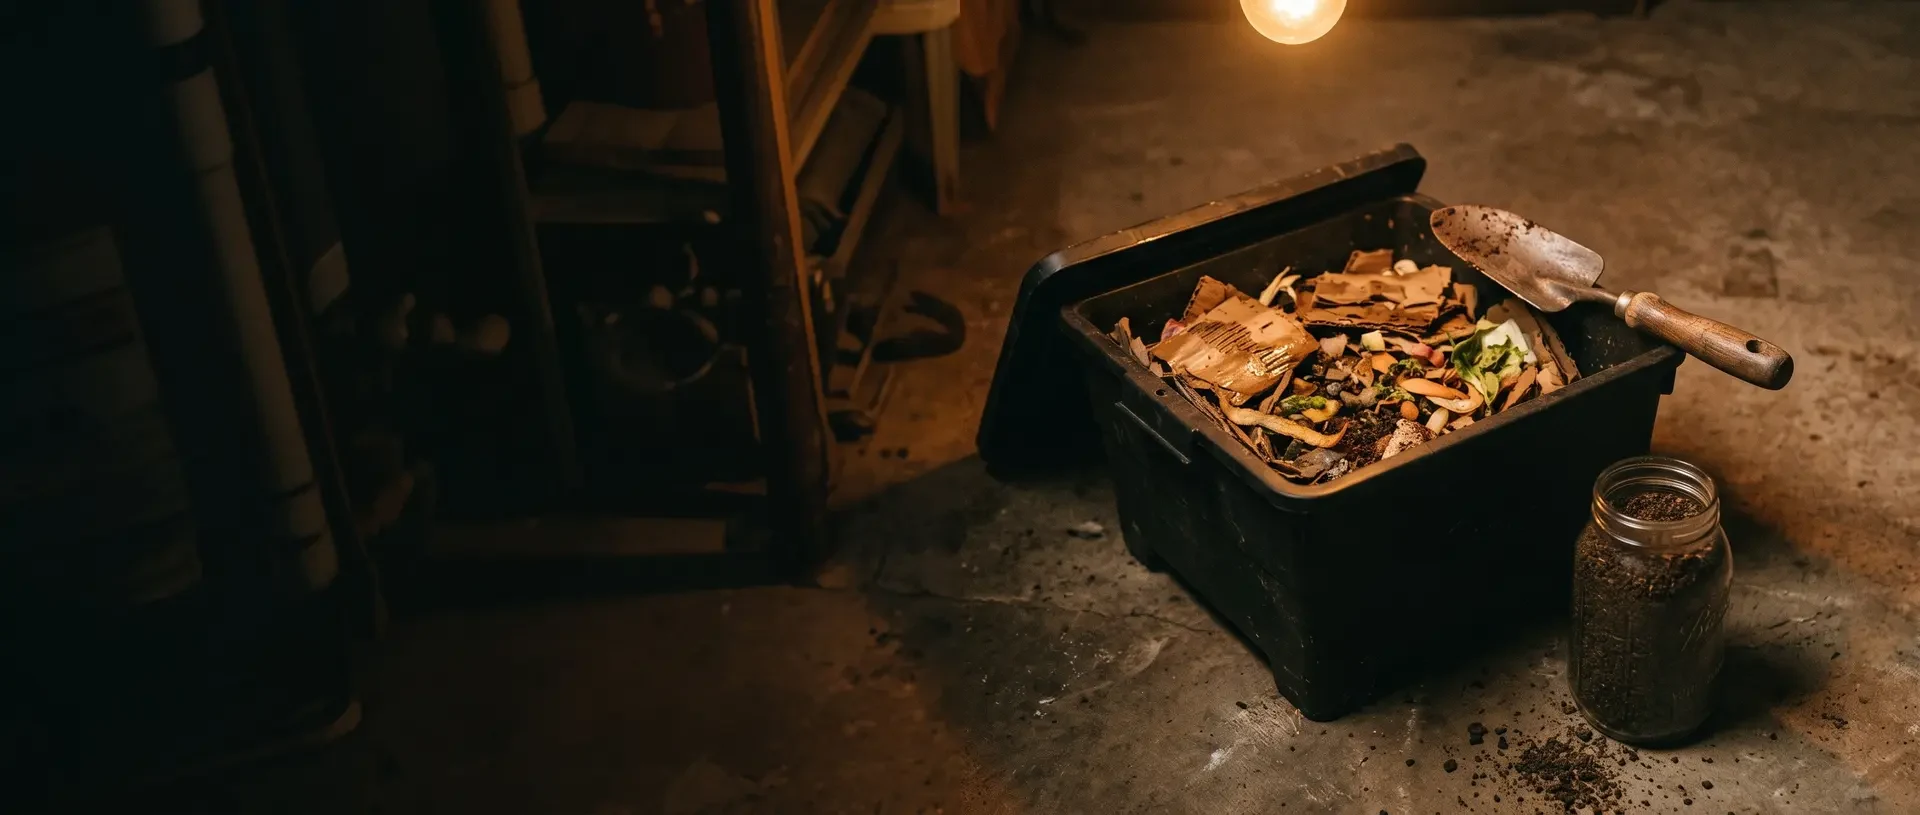
 AI illustration
Worm composting
A bin of red wigglers under the sink turns kitchen scraps into the best plant food there is. No smell, no noise, no walks.
What it is like
Worm composting, or vermicomposting, is keeping a colony of red wiggler worms in a bin of damp bedding and feeding them your vegetable scraps. They eat, breed and leave castings, a dark, crumbly compost rich in nutrients for houseplants and seedlings. A healthy bin smells of a forest floor and nothing else.
As animals go, they are the least demanding on this site: a feeding a week, a check of the moisture, a harvest every few months. The pleasure is partly the compost and partly watching a system work. A pound of worms, a pair of totes and a brick of coir is the whole investment, and after that the hobby costs nothing at all.
A worm bin is a small ecosystem. Red wigglers are surface dwellers built for leaf litter, manure and rotting plants, so a box of damp bedding and buried scraps suits them perfectly; bacteria and fungi soften the food first, and the worms eat it along with the microbes. What comes out is vermicast - fine, dark and crumbly - and the colony quietly grows as the worms lay small, lemon-shaped cocoons that hatch in about three weeks.
Most of the skill is balance. Too much food or water and the bin turns sour; too little and the worms slow down. Burying each feeding, adding dry cardboard when it gets soggy and feeding again only when the last lot is gone keep a bin healthy for years, and every few months it hands back a tub of castings for houseplants, seedlings and the garden.
- A session
- Ten minutes to feed and check moisture.
- A week
- One feeding a week for most indoor bins.
- Season
- All year indoors; outdoor bins need protection from summer heat and winter cold.
Indoors · Solo, With kids
Kinds and styles
Two nested plastic totes under a sink or in a cupboard - the cheapest system that works, and the one on this page.
Trays that worms climb through as food moves up, making harvests easier.
Larger bins fed from the top and harvested from the bottom.
Bigger beds in a sheltered spot for gardens, protected from heat and frost.
Fermented scraps from a bokashi bucket finished in a worm bin.
Small, clear bins for watching worms and teaching how soil is made.
Is it for you?
You will probably love it if
- You feel bad throwing vegetable scraps in the bin
- You have houseplants or a garden that could use the compost
- You want to keep animals that ask for ten minutes a week
Maybe not, if
- The idea of worms in the kitchen is a hard no for someone at home
- Your place gets hotter than about 80 F in summer and there is nowhere cooler
- You go away for a month at a time; a week is fine, longer needs a sitter
What to buy first
- 01Red wiggler worms, 1 lbAbout a thousand composting worms; the garden kind from the lawn will not doFind it on Amazon$40
- 02Two 10-gallon plastic totesHoles drilled in one, nested in the other to catch liquid; the cheapest bin that worksFind it on Amazon$26
- 03Coconut coir brickClean starter bedding; shredded cardboard and newspaper are the free follow-upFind it on Amazon$5
- Everything you need to beginNothing to pay each month after that$71
Typical US prices for entry-level gear, rounded. Last checked October 2026. How we get the numbers
The Amazon links open a search for that type of item, not a product chosen for us, and the prices in the list are our typical figures, or the listing of the shop a line names, not Amazon's price for any listing. If you buy through one we may earn a commission at no extra cost to you; as an Amazon Associate we earn from qualifying purchases.
What to buy next
- 01Stacking worm binEasier harvesting as the colony growsFind it on Amazon After a year with totes
- 02Spray bottleAdds moisture gentlyFind it on Amazon Dry bedding
- 03Small hand trowelBuries scraps and scoops castingsFind it on Amazon Feeding and harvesting
- 04Screen sieveSifts castings and finds cocoonsFind it on Amazon Harvesting
- 05Kitchen scrap caddyHolds a week of scraps until feeding dayFind it on Amazon Daily collecting
No prices here on purpose: these are later buys, and what to spend depends on how far the hobby has taken you. The Amazon links work like the ones above: a search for the type of item, and a possible commission for us at no extra cost to you.
Setting up and running a worm bin, step by step
From choosing the worms to spreading the compost, in the order it is done. At each step: what to do, what you can choose between and how the choices differ, and what tends to go wrong. The method is the US Environmental Protection Agency's indoor worm bin; temperatures and what the worms will eat come from the Wikipedia articles on vermicompost and on the red wiggler, and where they differ both are given.
Warning: Before you start Wash hands after handling the bin, as with any soil. Keep meat and pet waste out so the bin never harbors anything worse than fruit flies. The bin itself is safe around children; the worms are the sturdier party.
A dozen quarter-inch holes in the bottom of one tote for drainage, a row along the top of each long side for air. Nest it inside the second tote.
Soak the coir, squeeze it out so it is damp as a wrung sponge, and fill the bin six inches deep with coir and torn cardboard. Add a handful of garden soil for grit.
Tip the worms onto the bedding under a light. They dive down within an hour. Leave the lid on and leave them alone for a week.
Bury a cup of chopped vegetable scraps in one corner. Only add more when the last lot is mostly gone, and watch what they eat and what they leave.
After about three months, push the finished dark compost to one side and feed only the other. The worms migrate in a couple of weeks and you scoop the castings for your plants.
Inside a worm bin, bottom to top
The EPA two-tub bin cut in half, bottom to top.
- A Catch tray Collects liquid; drain it every few months. Step 8 →
- B Bedding About 3 in (8 cm) to start Soaked shredded paper with about a pound of soil; very moist, no puddles. Step 4 →
- C Worms About 1 lb (450 g) of red wigglers. Step 5 →
- D Food, buried Chopped scraps in one spot, covered over. Step 7 →
- E Damp paper on top Keeps the surface moist and the food out of reach of flies. Step 7 →
- F Screened holes Two 1-inch holes near the top, four small ones at the bottom corners, all covered with screen - not metal. Step 2 →
- G Lid Kept on; the holes let the air in. Step 2 →
- Step 1 of 11
Choose the worms
Composting worms are not the earthworms from the lawn: they live in rotting leaves near the surface and eat fast. The EPA uses about 1 lb (450 g) of red wigglers, which consume waste quickly; Wikipedia names Eisenia fetida, Eisenia andrei and Lumbricus rubellus as the redworms most used in composting.
Red wigglers (Eisenia fetida)Best forEvery indoor bin
The usual composting worm, sold by the pound; the EPA's choice.
Garden earthwormsBest forLeave them in the garden
Burrowing soil worms, not suited to a shallow bin of scraps.
Goes wrong: Jumping worms. The EPA warns against invasive Asian jumping worms, sometimes sold as 'Alabama Jumper' or 'Georgia Jumper'.
- Step 2 of 11
Make the bin
The EPA uses two plastic tubs. The worms live in a lidded tub of about 18 gallons (roughly 15 in deep, 20 in wide, 15 in tall); it stands in a wider, shallow tub about 5 in high that has no holes. Drill two 1-inch holes about 2 in below the rim on opposite sides, and four 1/8-inch holes near the bottom corners, then glue window screen over every hole and let the glue dry.
Two tubs with screened holesBest forIndoors
The EPA's design: air at the top, drainage at the bottom, liquid caught underneath.
Two nested totesBest forA first bin
The cheaper version in the short guide above: holes drilled in one tote, which sits inside an undrilled one.
Stacking tray systemsBest forLater
Bought bins with several trays the worms move up through; worth it once a simple bin has worked for a year.
Goes wrong: Metal screen or bare holes. The EPA says not to use metal screen, and uncovered holes let worms out and flies in.
- Step 3 of 11
Find the spot
Indoors, so the worms neither freeze in winter nor overheat in summer - a basement or another out-of-the-way place (EPA). Redworms feed fastest at 15-25°C (59-77°F), survive at 10°C (50°F), and can be harmed above 30°C (86°F) (Wikipedia, Vermicompost).
Under a sink or in a basementBest forMost homes
Steady room temperature and out of the way (EPA).
A sheltered spot outsideBest forMild climates
Out of direct sun and insulated against frost in winter (Wikipedia).
Goes wrong: A hot garage or a sunny balcony. Above about 30°C the worms suffer; a bin in summer sun cooks them.
- Step 4 of 11
Make the bedding
Soak shredded paper, drain it, and mix in about a pound of soil free of harmful chemicals, filling the bin about 3 inches deep. It should be very moist but not forming puddles (EPA). Avoid heavy, shiny or coloured paper.
Shredded newspaper or plain paperBest forFree bedding
The EPA's bedding, soaked and drained.
Torn cardboard and egg boxesBest forMixing with paper
The same idea in thicker pieces; it holds moisture well.
Coconut coirBest forA tidy start
Clean, bought bedding that starts damp and even - the short version above uses it.
Goes wrong: Glossy or coloured paper. The EPA keeps heavy, shiny and coloured paper out of the bin.
- Step 5 of 11
Add the worms
Tip the worms onto the bedding: they live just below the surface to avoid light (Wikipedia) and soon burrow in. Let them settle for a day before the first feeding (EPA).
- Step 6 of 11
Feed them
The EPA feeds once a week, keeping scraps in a small lidded container in between, and adds more only when the last lot has been eaten. Cut large pieces small, take out anything the worms ignore for a long time, and remember woody or dry things like stems take longer.
YesBest forEvery feeding
Fruit and vegetable scraps, coffee grounds, tea bags without staples (EPA); bread and cereals too (Wikipedia).
In small amountsBest forNow and then
Citrus, in limited quantities (Wikipedia).
NoBest forNever
Meat, fish, bones, fat and dairy, which putrefy (EPA, Wikipedia); plastic tea bags and produce stickers (EPA).
Coffee filtersBest forYour call
The sources differ: the EPA leaves them out, while Wikipedia lists coffee grounds and filters among good worm food.
Goes wrong: Feeding faster than they eat. A sour, smelly bin is an overfed one; stop feeding, add dry bedding, and it recovers.
- Step 7 of 11
Bury every feeding
Dig a hole with a trowel, put the scraps in, and cover them completely with bedding and moist paper. The EPA puts it plainly: exposed food attracts fruit flies, covered food does not.
Goes wrong: Scraps on the surface. That is how a bin gets fruit flies.
- Step 8 of 11
Keep it damp, not wet
The bedding should stay very moist without puddles. Drain the liquid from the bottom tub every few months, so worms do not drown (EPA).
Too dryBest forMist or add damp paper
Bedding no longer damp to the touch: add water or wet bedding.
Too wetBest forAdd dry bedding
Puddles or a sour smell: drain the tray and add dry shredded paper.
- Step 9 of 11
Let them multiply
In good conditions a red wiggler lays about three cocoons a week, each holding one to nine eggs, and at 25°C the young hatch in about three weeks (Wikipedia, Eisenia fetida) - so a well-kept bin fills with more worms over the months.
- Step 10 of 11
Harvest the compost
When the compost reaches the top holes, feed only one side of the bin for a couple of weeks: the worms move to the food, and the finished compost on the other side can be scooped out. Harvest at the end of a week, before the next feeding (EPA).
Feed one sideBest forLittle sorting
The EPA's way: let the worms move over, then harvest the side they left.
Tip out and sortBest forA full clear-out
Spread everything on newspaper and pick the worms out by hand - messier, the EPA notes.
- Step 11 of 11
Use the compost and the liquid
Mix the compost into pots or garden beds, or sprinkle it over the lawn; the liquid drained from the bottom tub can go on plants and shrubs (EPA).
In shortIf it goes wrong
- Jumping worms.
- Step 1 · Choose the worms
- Metal screen or bare holes.
- Step 2 · Make the bin
- A hot garage or a sunny balcony.
- Step 3 · Find the spot
- Glossy or coloured paper.
- Step 4 · Make the bedding
- Feeding faster than they eat.
- Step 6 · Feed them
- Scraps on the surface.
- Step 7 · Bury every feeding
How you get better
- First weekSettling in
A drilled tote, damp bedding, a pound of red wigglers and a week of leaving them alone.
- First monthA feeding rhythm
Small buried feedings, adding more only when the last has mostly gone.
- Months 2 to 3A healthy colony
Cocoons and baby worms, a forest-floor smell, and adjusting moisture.
- Months 3 to 4First harvest
Feeding one side so worms migrate, and scooping finished castings from the other.
- After thatScaling up
A second bin, a stacking system or an outdoor bed, and castings for the whole garden.
- Building a bin
- Preparing bedding
- Balancing moisture
- Burying scraps
- Judging how much to feed
- Keeping fruit flies away
- Recognizing cocoons
- Fixing a smelly bin
- Draining liquid
- Harvesting castings
- Using castings on plants
- Keeping a bin at the right temperature
Small things that help
- Keep bedding as damp as a wrung-out sponge.
- Bury every feeding under bedding to stop fruit flies.
- Chop scraps small so worms eat them faster.
- Feed again only when most of the last food is gone.
- Add torn cardboard if the bin gets wet or smelly.
- Return cocoons to the bin when you harvest.
Beginner mistakes
- 01OverfeedingUneaten food rots and smells. Pause feeding and add dry bedding.
- 02Meat, dairy and oily foodThey smell and attract pests. Vegetable scraps only.
- 03Too wetWorms drown and the bin goes sour. Add dry cardboard and drain.
- 04Too hotSummer heat kills worms. Keep the bin in a cool place.
- 05Using garden earthwormsSoil-dwelling worms do not thrive in a bin. Use red wigglers.
What goes in the bin
| Yes, freely | In moderation | Never |
|---|---|---|
| Vegetable and fruit scraps, chopped | Citrus peel and onion | Meat, fish and bones |
| Coffee grounds and paper filters | Bread and cooked grains | Dairy and oily food |
| Tea leaves (not plastic bags) | Crushed eggshells | Pet waste |
| Torn cardboard, paper, egg cartons | Grass clippings, a little | Glossy paper, treated wood, anything salty |
Why people quit
- 01OverfeedingA smelly, sour bin is a bin fed faster than the worms can eat. Stop feeding for two weeks, add dry cardboard, and it recovers.
- 02Fruit fliesScraps left on the surface breed flies. Bury every feeding under bedding and keep a sheet of damp newspaper over the top.
- 03Too wet, too hotBedding should be damp, never dripping, and the bin should live somewhere at mild room temperature. A garage in August cooks them.
Words you will meet
- Vermicomposting
- Composting with worms.
- Red wiggler
- Eisenia fetida, the usual composting worm.
- Castings
- Worm manure; finished vermicompost.
- Vermicast
- Another name for worm castings.
- Bedding
- The damp material worms live in, such as coir and cardboard.
- Cocoon
- A small lemon-shaped capsule holding worm eggs.
- Leachate
- Liquid that drains from the bin.
- Epigeic
- Living in leaf litter and decaying matter at the surface, like red wigglers.
- Migration harvest
- Moving food to one side so worms leave the finished compost.
Questions people ask
Does a worm bin smell?
A healthy bin smells like damp forest soil. A bad smell means overfeeding or too much moisture.
Can I use worms from the garden?
No. Composting worms like red wigglers live in decaying matter; soil earthworms do not do well in a bin.
How long until I get compost?
Usually around three months for a first harvest from a settled bin.
How do worms breed?
Red wigglers lay lemon-shaped cocoons that hatch in about three weeks; a healthy bin keeps growing.
What do I do with the liquid?
Scoop it out every few months; many gardeners dilute it for plants.
Where to go next
- 01MicrogreensA cut tray of microgreens is worm food, and worm compost goes back into the next trays and pots. $33 to start
- 02Oyster mushroomsAnother kitchen-waste crop: straw and coffee grounds grow mushrooms, and what is left can go to the worms. $20 to start
- 03Backyard chickensThe next step up in animals that turn kitchen scraps into something useful. $467 to start
How it compares
| Worm composting | Microgreens | Oyster mushrooms | Backyard chickens | |
|---|---|---|---|---|
| Start cost | $71 | $33 | $20 | $467 |
| Each month | Free | $8 | $10 | $30 |
| Space | Under a sink | A windowsill | A kitchen counter | A backyard |
| Noise | Quiet | Quiet | Quiet | Medium |
| First result | About 3 months | 8 to 12 days | 2 to 3 weeks | About 5 months to eggs |
| Mess | Damp bedding | Soil and water | A little spore dust | Bedding and droppings |
Where to learn more
- 01US EPA, indoor worm composting binOfficial step-by-step instructions for building and keeping a worm bin.
Sources: US EPA, how to create and maintain an indoor worm composting bin · Wikipedia, Vermicompost · Wikipedia, Eisenia fetida · Wikipedia, The Formation of Vegetable Mould Through the Action of Worms
Researched and written by the Fjords Team.