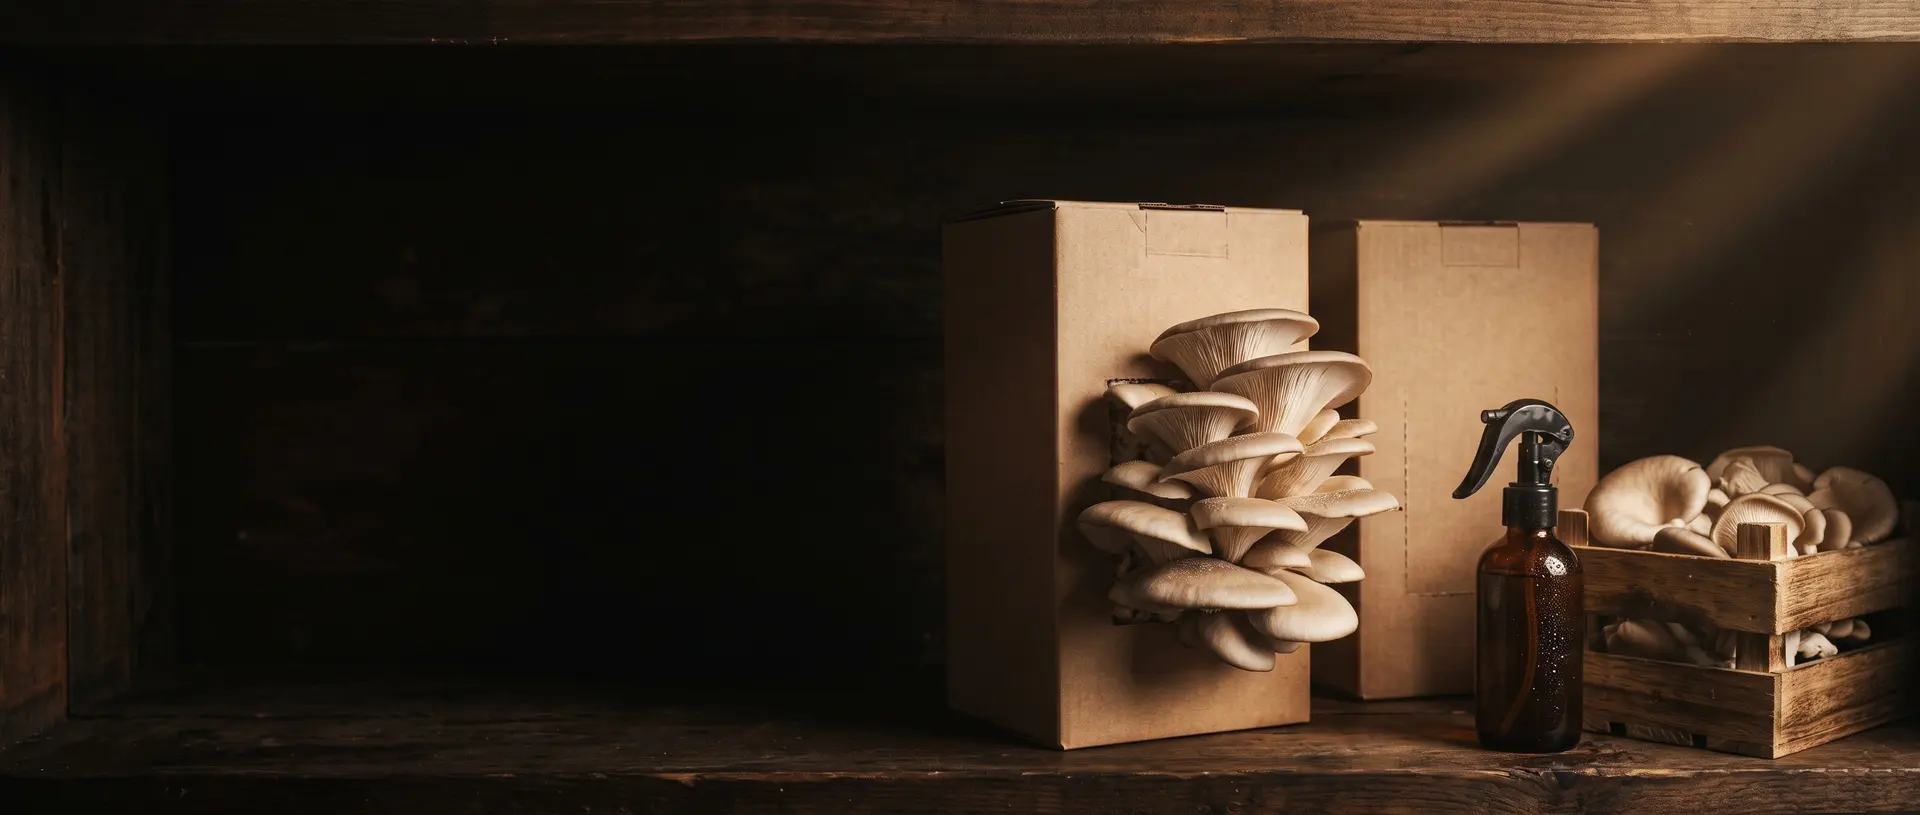
 AI illustration
Oyster mushrooms
A kit on the counter, misted twice a day, gives a cluster of mushrooms in about two weeks. The cheapest way to find out whether growing food suits you.
What it is like
An oyster mushroom kit is a block of sawdust or straw that a grower has already colonized with mycelium. Your job is to give it the two things it lacks in the box: fresh air and moisture. Cut the bag, mist twice a day, and in a week or two pins appear and swell into a cluster you can cook.
It is a short hobby in itself, a few weeks and two or three harvests, which is exactly why it is a good first step. If you find yourself checking the pins every morning and reading about substrates, the next stage is growing from spawn in buckets, which is cheap but needs a pressure cooker and a clean routine. If the kit was enough, you have had two meals and learned something, for less than the price of a restaurant mushroom dish.
Mushrooms do not grow like plants. They take no energy from light; instead the mycelium, a web of fine white threads, digests the straw or sawdust it lives in, and when conditions change - fresh air, humidity, a little light, a cut in the bag - it puts up mushrooms to spread its spores. A kit hands you a block that is ready for that moment, which is why the work is mostly about humidity and air.
Oysters are the classic first mushroom because they are vigorous and forgiving. Once a kit has worked, many growers try spawn on pasteurized straw in a bucket, then other species like shiitake on logs. Each step adds a little more hygiene and patience, and each one turns kitchen waste or garden straw into food.
- A session
- Two minutes of misting morning and evening.
- A week
- First pins in five to ten days, harvest in about two to three weeks.
- Season
- All year indoors, out of direct sun and away from heaters.
Indoors · Solo, With kids
Kinds and styles
The classic Pleurotus ostreatus: dependable kits with soft gray-brown caps.
A dark blue-gray strain that pales as it grows; common in beginner kits.
Bright yellow or pink clusters, striking on the counter and best eaten fresh.
Pleurotus eryngii, a related species with thick, meaty stems.
Buckets or bags of pasteurized straw inoculated with bought spawn; the next step after kits.
Used coffee grounds, cardboard and sawdust as homemade growing media, with a careful clean routine.
Is it for you?
You will probably love it if
- You want to grow something you can eat, without a garden
- You can remember a two-minute job twice a day
- You are curious whether the bigger step, growing from spawn, is for you
Maybe not, if
- Anyone at home has asthma or a mold allergy; mushrooms release spores
- You want a harvest every week; a kit gives two or three flushes and is done
- You cannot keep a corner out of direct sun and away from the heating
What to buy first
- 01Oyster mushroom grow kitA block of colonized substrate in a box; cut, mist, waitFind it on Amazon$20
- 02Spray bottleA fine mist twice a day is the whole job; the one under the sink will do, a new one is a few dollarsFree
- Everything you need to beginAbout $10 a month after that$20
Typical US prices for entry-level gear, rounded. Last checked October 2026. How we get the numbers
The Amazon links open a search for that type of item, not a product chosen for us, and the prices in the list are our typical figures, or the listing of the shop a line names, not Amazon's price for any listing. If you buy through one we may earn a commission at no extra cost to you; as an Amazon Associate we earn from qualifying purchases.
What to buy next
- 01Second kit in a new strainCompare colors, speed and flavorFind it on Amazon After the first harvest
- 02Grain spawnThe starter culture for your own substrateFind it on Amazon Growing on straw
- 03Food-grade bucket with lidA simple container for straw and spawnFind it on Amazon Bucket growing
- 04Humidity tent or toteKeeps the air around the block moistFind it on Amazon Dry rooms
- 05Mushroom growing bookSubstrates, hygiene and species in one placeFind it on Amazon Planning bigger grows
No prices here on purpose: these are later buys, and what to spend depends on how far the hobby has taken you. The Amazon links work like the ones above: a search for the type of item, and a possible commission for us at no extra cost to you.
Growing oyster mushrooms on straw, step by step
The kit above is the first rung. This is the whole method one step further, following the University of Florida's home-growing guide: pasteurise straw, mix in bought spawn, let it colonise in the dark, then give it light, cool air and humidity to fruit. At each step: what to do, what you can choose between, and what tends to go wrong.
Warning: Before you start Mushrooms release spores, especially when they are past their best. Harvest early, keep the kit in a ventilated room, and skip this hobby if anyone at home has asthma or a mold allergy. Eat only mushrooms grown from a bought kit, cooked through; nothing here helps you identify a wild mushroom, and a mistake there can be fatal.
Cut the slit the instructions show and scrape the surface lightly if the kit says so. Stand it where it gets indirect light and no draft, away from radiators.
Spray the cut face until it glistens, morning and evening. Some kits want a plastic tent over the box for humidity; follow the packet.
Tiny gray or pale knobs appear after five to ten days. From here they roughly double in size every day.
When the caps have flattened and the edges are just starting to turn up, twist the whole cluster off at the base. Waiting longer means tougher mushrooms and a cloud of spores.
Keep misting. A second, smaller flush usually comes one to three weeks later; a third sometimes. Then the block goes in the compost.
One bag, from packing to picking
Four moments in the life of one bag, in the order they happen (University of Florida method).
- A Straw mixed with spawn Pasteurised wheat straw with 5-10 per cent spawn, packed like a firm pillow. Step 6 →
- B Tied at the top Closed with string or staples. Step 6 →
- C Cross-cuts in two rings 10-15 small cuts, about ¼ in (½ cm) long and 4-6 in (10-15 cm) apart. Step 7 →
- D Mycelium In about two to three weeks in the dark the whole bag turns white. Step 8 →
- E Pins at the cuts Tiny knobs form at the cuts after the move to light and a cooler room. Step 9 →
- F Mushrooms ready to pick Picked when the caps have flattened and the edges just begin to turn up. Step 10 →
- Step 1 of 11
Choose the route
The University of Florida lays out three ways to grow oyster mushrooms at home: a ready-made kit, bought spawn mixed into your own substrate, or spawn you make yourself. It recommends bought spawn for a beginner who has moved past a kit; making spawn is a separate, more technical process.
A ready-made kitBest forA first harvest
A block already colonised by the grower: you only give it air, moisture and light. The short version above covers it.
Bought spawn on strawBest forThe next step
Grain spawn bought from a supplier, mixed into pasteurised straw in bags - the rest of this guide.
Your own spawnBest forLater
Grown on sterilised grain, which needs a pressure cooker and clean technique; the University of Florida covers it in a separate guide.
- Step 2 of 11
Choose the strain and the substrate
Oyster mushrooms grow on many kinds of plant waste. The University of Florida uses wheat straw and also lists rice stalks, corn cobs, coffee grounds, cotton waste, peanut shells, banana leaves and paper.
Wheat strawBest forA first bag
The University of Florida's main example: cheap, open and easy to pasteurise.
Coffee grounds or paperBest forSmall batches
Also on the list - kitchen and office waste that would otherwise be thrown away.
Pearl, blue, golden or pink oystersBest forVariety
Different strains of the same group of mushrooms; the strain is chosen when you buy the spawn, and strains differ in colour and in the conditions they fruit best in.
- Step 3 of 11
Cut and soak the straw
Cut the straw into pieces about 4-5 inches (10-13 cm) long and soak it in water overnight (University of Florida).
- Step 4 of 11
Pasteurise
Drain the straw and heat it in a water bath at 165°F (74°C) for one to two hours. This kills most of the competing moulds and bacteria while leaving the straw for the mushroom. The University of Florida also mentions steam and baths of hydrated lime as other ways to do it.
Hot waterBest forMost home growers
A big pot or drum and a thermometer: 165°F (74°C) for one to two hours.
Steam or hydrated limeBest forLarger batches
The alternatives the University of Florida names, used by growers who handle more straw than a pot holds.
Goes wrong: Boiling instead of pasteurising. The aim is to hold the straw hot for an hour or two, not to sterilise it.
- Step 5 of 11
Drain and cool
Let the straw drain for about an hour and cool before the spawn goes in; inoculate as soon as it has drained and cooled, to give contaminants as little time as possible (University of Florida). Keep the work area clean from here on.
Goes wrong: Rushing it. The spawn goes in only once the straw has drained and cooled (University of Florida).
- Step 6 of 11
Mix in the spawn and pack the bags
Add spawn at 5-10 per cent of the straw by volume or weight. Either mix it through all the straw before bagging, or build the bag up in layers of straw and spawn. Use bags about 10-12 x 20-24 inches (25-30 x 50-60 cm), stuffed tightly with no big gaps - the University of Florida says the bag should feel like a firm pillow - and close the top with string or staples.
Mixed throughBest forEven colonisation
Spawn spread evenly before bagging, so the mycelium starts everywhere at once.
LayeredBest forFilling straight into the bag
Alternate layers of straw and spawn as the bag is filled.
- Step 7 of 11
Cut the holes
Make 10-15 cross-shaped cuts about ¼ inch (½ cm) long, 4-6 inches (10-15 cm) apart, in two rings - a few inches from the top and a few inches from the bottom. The mushrooms will come out of these cuts (University of Florida).
- Step 8 of 11
Let it colonise in the dark
Keep the bags in a clean, dark place at 24-25°C (75-77°F) and 80-90 per cent humidity, raised off the floor on blocks; a cardboard box or an upside-down plastic bin with wet towels or cups of water underneath will do. In about two to three weeks the whole bag turns white with mycelium (University of Florida).
Goes wrong: Coloured spots. Blue, green, black or yellow patches are contamination; fast greenish growth is often Trichoderma. Throw out bags that are badly affected - a partly affected one may still give one flush (University of Florida).
- Step 9 of 11
Move it to fruit
Fruiting is triggered by light and a lower temperature: about 20°C (68°F), around 90 per cent humidity and a cool light, either on a day-night cycle or left on through fruiting. Give enough fresh air to stop carbon dioxide building up while keeping the air humid; the University of Florida shows a fruiting chamber made from a laundry hamper. Tiny knobs - primordia - form at the cuts, become pinheads and expand into mushrooms, usually from about the third week.
A humidifier or foggerBest forSeveral bags
What the University of Florida uses to hold humidity near 90 per cent.
MistingBest forOne bag or a kit
For a kit or a single bag on the counter, a spray morning and evening keeps the cut faces moist, as the kit instructions in the short version above describe.
Goes wrong: Stale air. The University of Florida ventilates the fruiting space enough to stop carbon dioxide building up, while keeping it humid.
- Step 10 of 11
Harvest
Twist and gently pull the whole cluster, or cut it flush with the bag with a knife (University of Florida). Pick on the early side, when the caps have flattened and the edges just begin to turn up: older clusters toughen and shed clouds of spores.
Goes wrong: A cluster left too long. It drops spores across the room - one reason to skip this hobby if anyone at home has asthma or a mould allergy.
- Step 11 of 11
Wait for the next flushes
Keep the bag humid and in the light: the University of Florida expects two to four more flushes after the first, depending on strain and conditions. When a bag stops producing, the spent straw goes on the compost.
In shortIf it goes wrong
- Boiling instead of pasteurising.
- Step 4 · Pasteurise
- Rushing it.
- Step 5 · Drain and cool
- Coloured spots.
- Step 8 · Let it colonise in the dark
- Stale air.
- Step 9 · Move it to fruit
- A cluster left too long.
- Step 10 · Harvest
How you get better
- First monthA kit and two flushes
Cut, mist, harvest on the early side and coax out a second flush.
- Months 2 to 3Different strains
Blue, golden or pink oyster kits and their different timing and taste.
- Months 3 to 6Spawn on straw
Pasteurized straw in a bucket with holes, inoculated with bought grain spawn.
- Months 6 to 12A clean routine
Better hygiene, more substrates, and spent blocks feeding the garden or worm bin.
- After thatOther species
Shiitake on logs or blocks, lion's mane, and perhaps a pressure cooker for sterile work.
- Opening and placing a kit
- Misting for humidity
- Fresh air without drafts
- Recognizing pins
- Harvesting at the right moment
- Getting a second flush
- Spotting contamination
- Cooking and storing
- Pasteurizing straw
- Inoculating with spawn
- Clean working habits
- Composting spent blocks
Small things that help
- Keep the cut face moist but not dripping.
- Indirect light and fresh air help caps form properly.
- Harvest as the cap edges flatten and just begin to turn up.
- Twist off the whole cluster at the base.
- Keep misting after the first harvest for a second flush.
- Cook oyster mushrooms through before eating.
Beginner mistakes
- 01Drying outDry air shrivels pins. Mist more or tent the kit.
- 02Harvesting lateOld clusters drop spores and get tough. Pick early.
- 03A warm, stuffy spotHeat and still air bring long stems and contamination. Choose a cool, airy corner.
- 04Too much waterPuddles on the block invite molds. Mist lightly.
- 05Eating wild lookalikesThis hobby teaches growing, not foraging. Eat only what grew from your kit.
Kit to harvest
Typical days for a pearl or blue oyster kit kept at ordinary room temperature. Warmer rooms are faster; a cold room can double the times.
| Stage | When | What you see |
|---|---|---|
| Open and first mist | Day 0 | A white block with the cut face exposed |
| First pins | Day 5 to 10 | Tiny knobs clustered at the cut |
| Harvest | Day 10 to 18 | Caps flattened, edges just curling up |
| Second flush | 1 to 3 weeks after the first | Smaller cluster, same place or a new one |
| Spent | After 2 or 3 flushes | Block dries out or goes green; compost it |
Why people quit
- 01Letting it dry outOne hot day without a mist and the pins shrivel. If the surface looks dull, it is thirsty.
- 02Harvesting lateA cluster left two days too long drops a layer of spores across the counter and turns leathery. Pick on the early side.
- 03Expecting a farmA kit gives a meal or two. It is a trial run, not a food supply. The next step, inoculating your own substrate, is a different hobby with a pressure cooker in it.
Words you will meet
- Mycelium
- The fungus's thread-like body growing through the substrate.
- Substrate
- The material the mycelium feeds on, such as straw or sawdust.
- Spawn
- Grain or sawdust colonized by mycelium, used to start new substrate.
- Pins
- Tiny baby mushrooms that appear before a flush.
- Flush
- One wave of mushrooms from a block.
- Fruiting
- The stage when mushrooms form.
- Colonized
- Fully grown through by mycelium.
- Contamination
- Unwanted molds or bacteria in the substrate.
- Spore print
- The powder pattern spores leave when a cap is laid on paper.
Questions people ask
How long does a kit take?
Pins usually appear in five to ten days and a first harvest comes in about two to three weeks at room temperature.
How many harvests does a kit give?
Usually two or three flushes, each smaller than the last.
Are oyster mushroom spores harmful?
Mature mushrooms release a lot of spores. Harvest early, ventilate, and skip the hobby if someone at home has asthma or mold allergies.
Do mushrooms need light?
They do not need it for energy, though indirect light helps the caps form properly.
Can I grow them on coffee grounds?
Yes, oysters are grown on coffee grounds as well as straw and sawdust, but homemade substrates need a clean routine to avoid molds.
Where to go next
- 01MicrogreensAnother fast indoor crop for the kitchen, grown on a windowsill instead of in the dark. $33 to start
- 02Worm compostingSpent mushroom straw and coffee grounds are worm food; a bin turns them into compost. $71 to start
- 03Sourdough bakingAnother kitchen hobby built on looking after a living culture. $126 to start
How it compares
| Oyster mushrooms | Microgreens | Terrariums | Worm composting | |
|---|---|---|---|---|
| Start cost | $20 | $33 | $52 | $71 |
| Each month | $10 | $8 | $2 | Free |
| Space | A kitchen counter | A windowsill | A shelf | Under a sink |
| Noise | Quiet | Quiet | Quiet | Quiet |
| First result | 2 to 3 weeks | 8 to 12 days | 1 afternoon | About 3 months |
| Mess | A little spore dust | Soil and water | A little soil | Damp bedding |
Where to learn more
- 01Cornell Small Farms Program, mushroomsUniversity resources on growing specialty mushrooms.
Sources: University of Florida IFAS Extension, D.I.Y. FunGuide: Grow Your Own Oyster Mushrooms at Home (SS662) · Cornell Small Farms Program, specialty mushroom production · Wikipedia, Pleurotus ostreatus · Wikipedia, Fungiculture (substrates)
Researched and written by the Fjords Team.